Overview
Do you wish you had the full colour instrument cluster that the RF's have? Well now you can! In fact, you can even keep your odometer reading with the correct tools.
This guide will show you how to swap in the full colour cluster and how to correctly program it so you do not brick anything and avoid any DTC's.
Notes
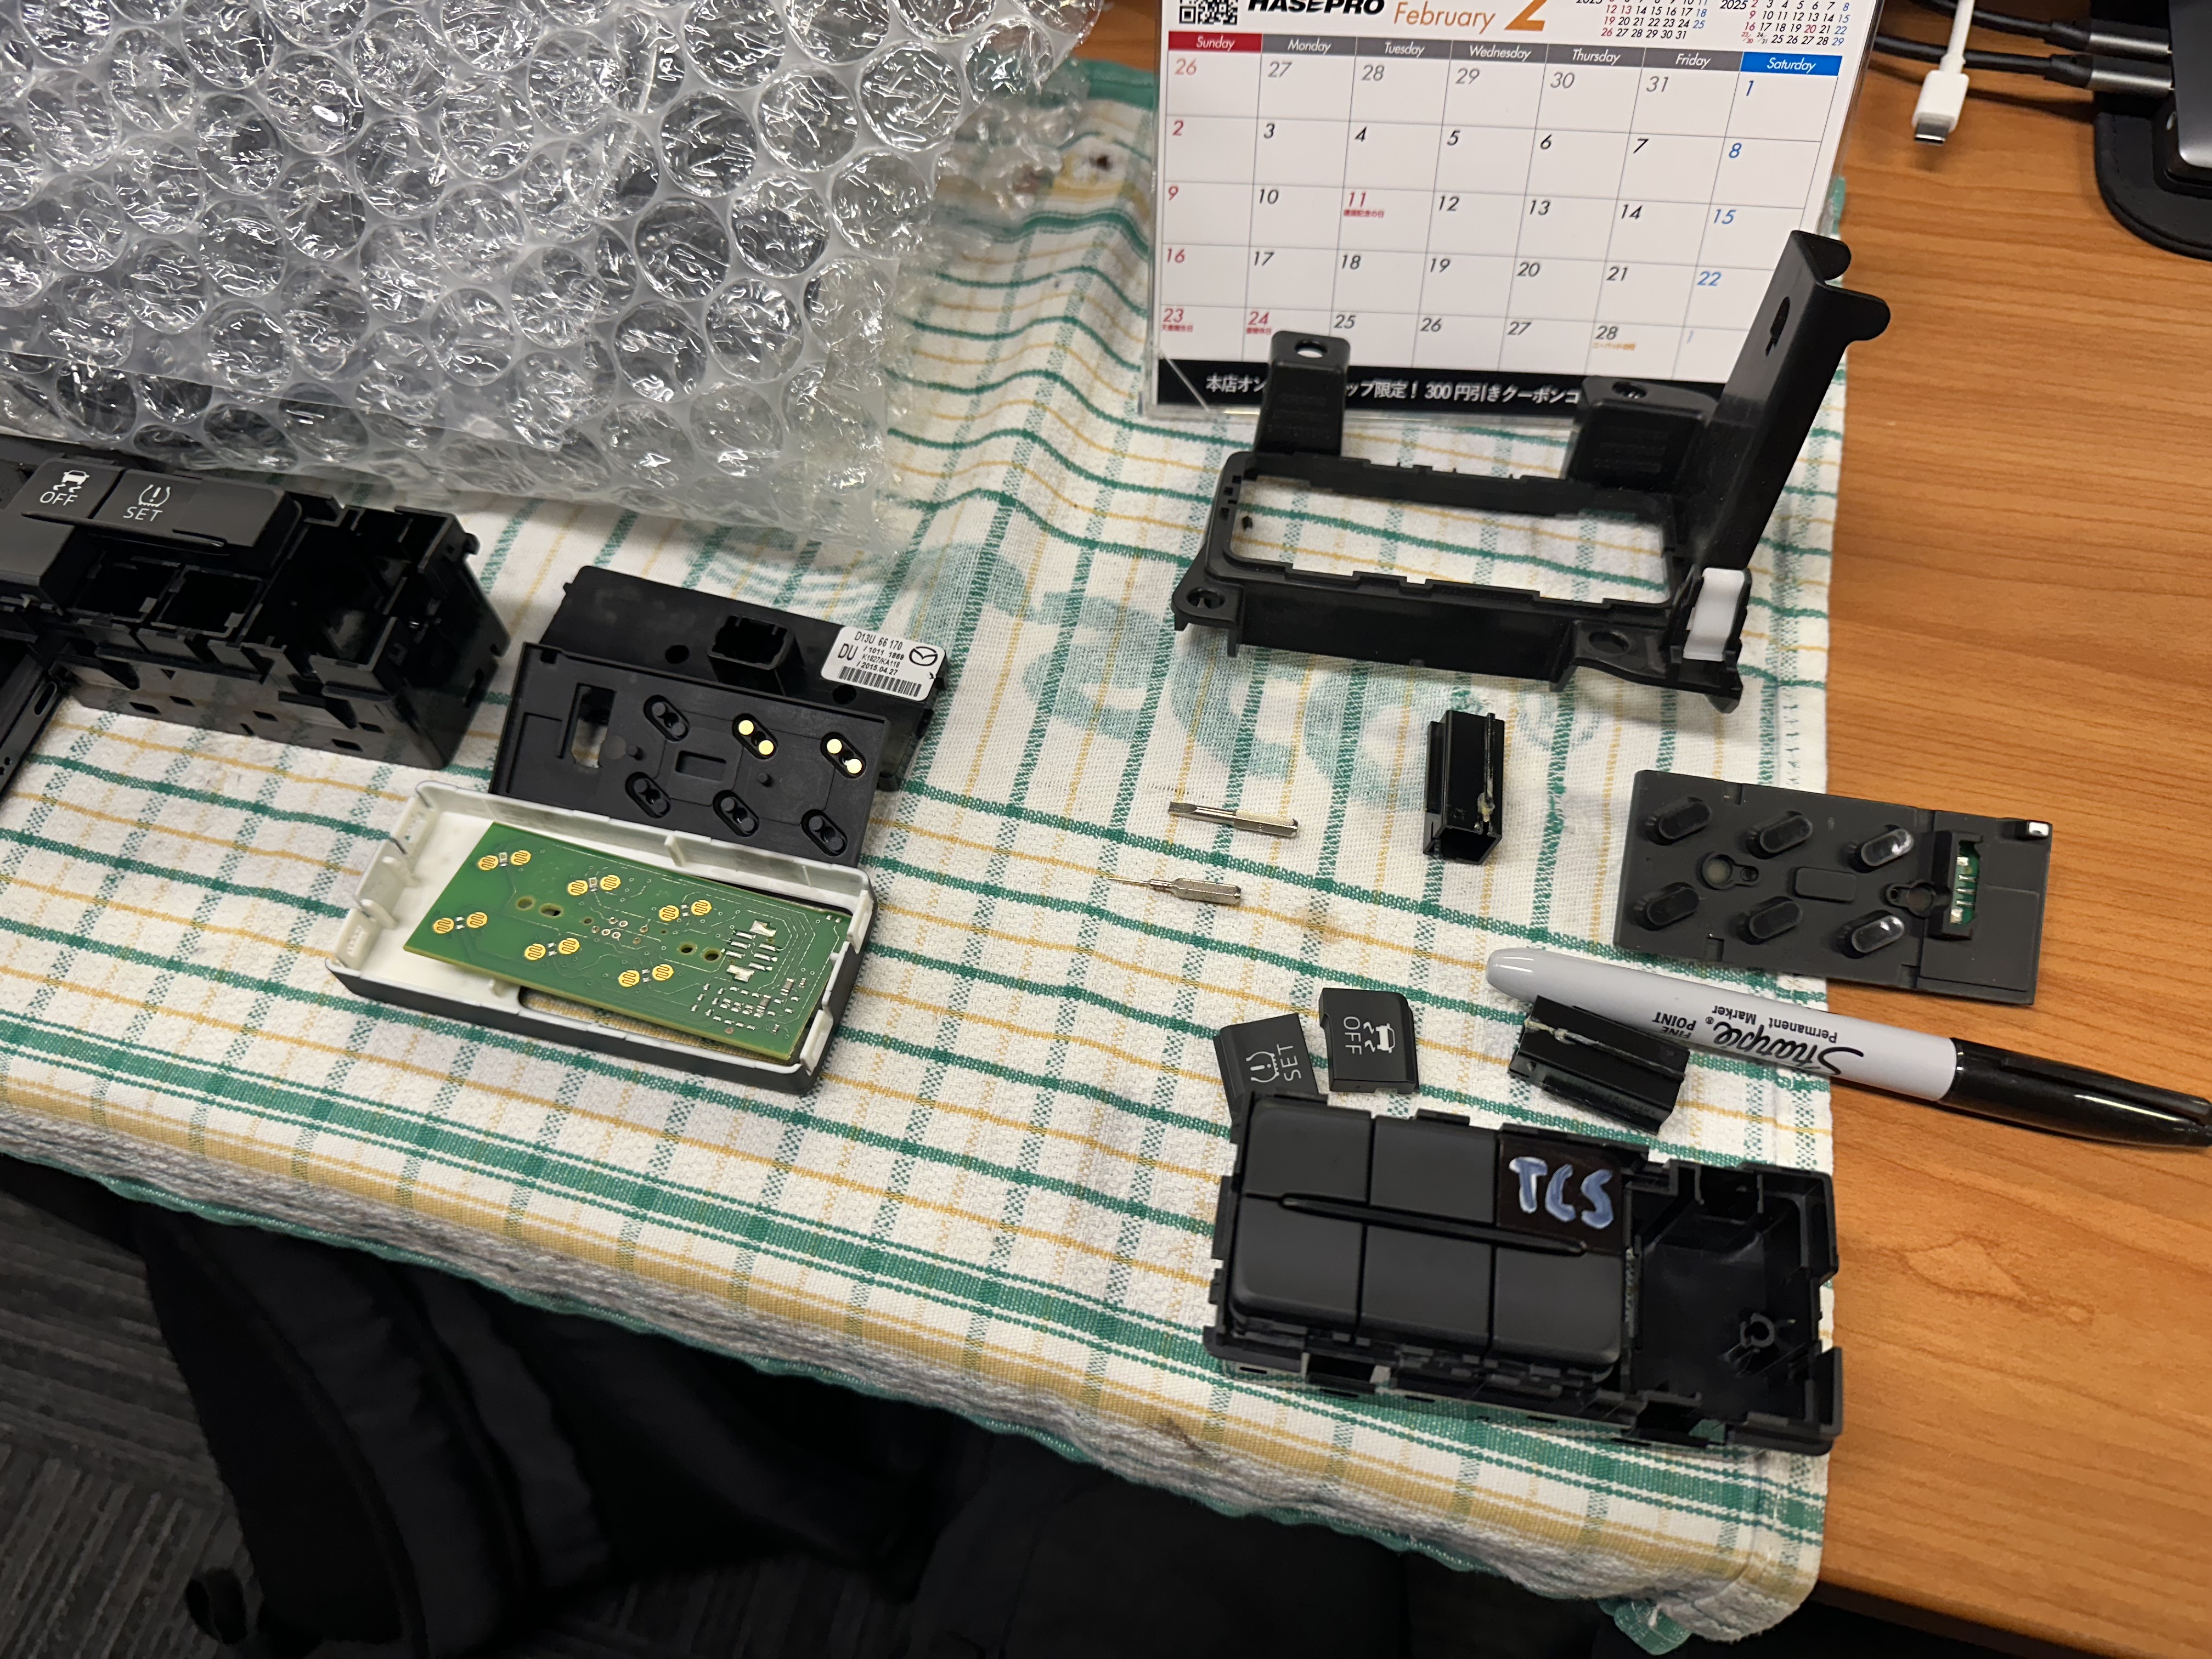
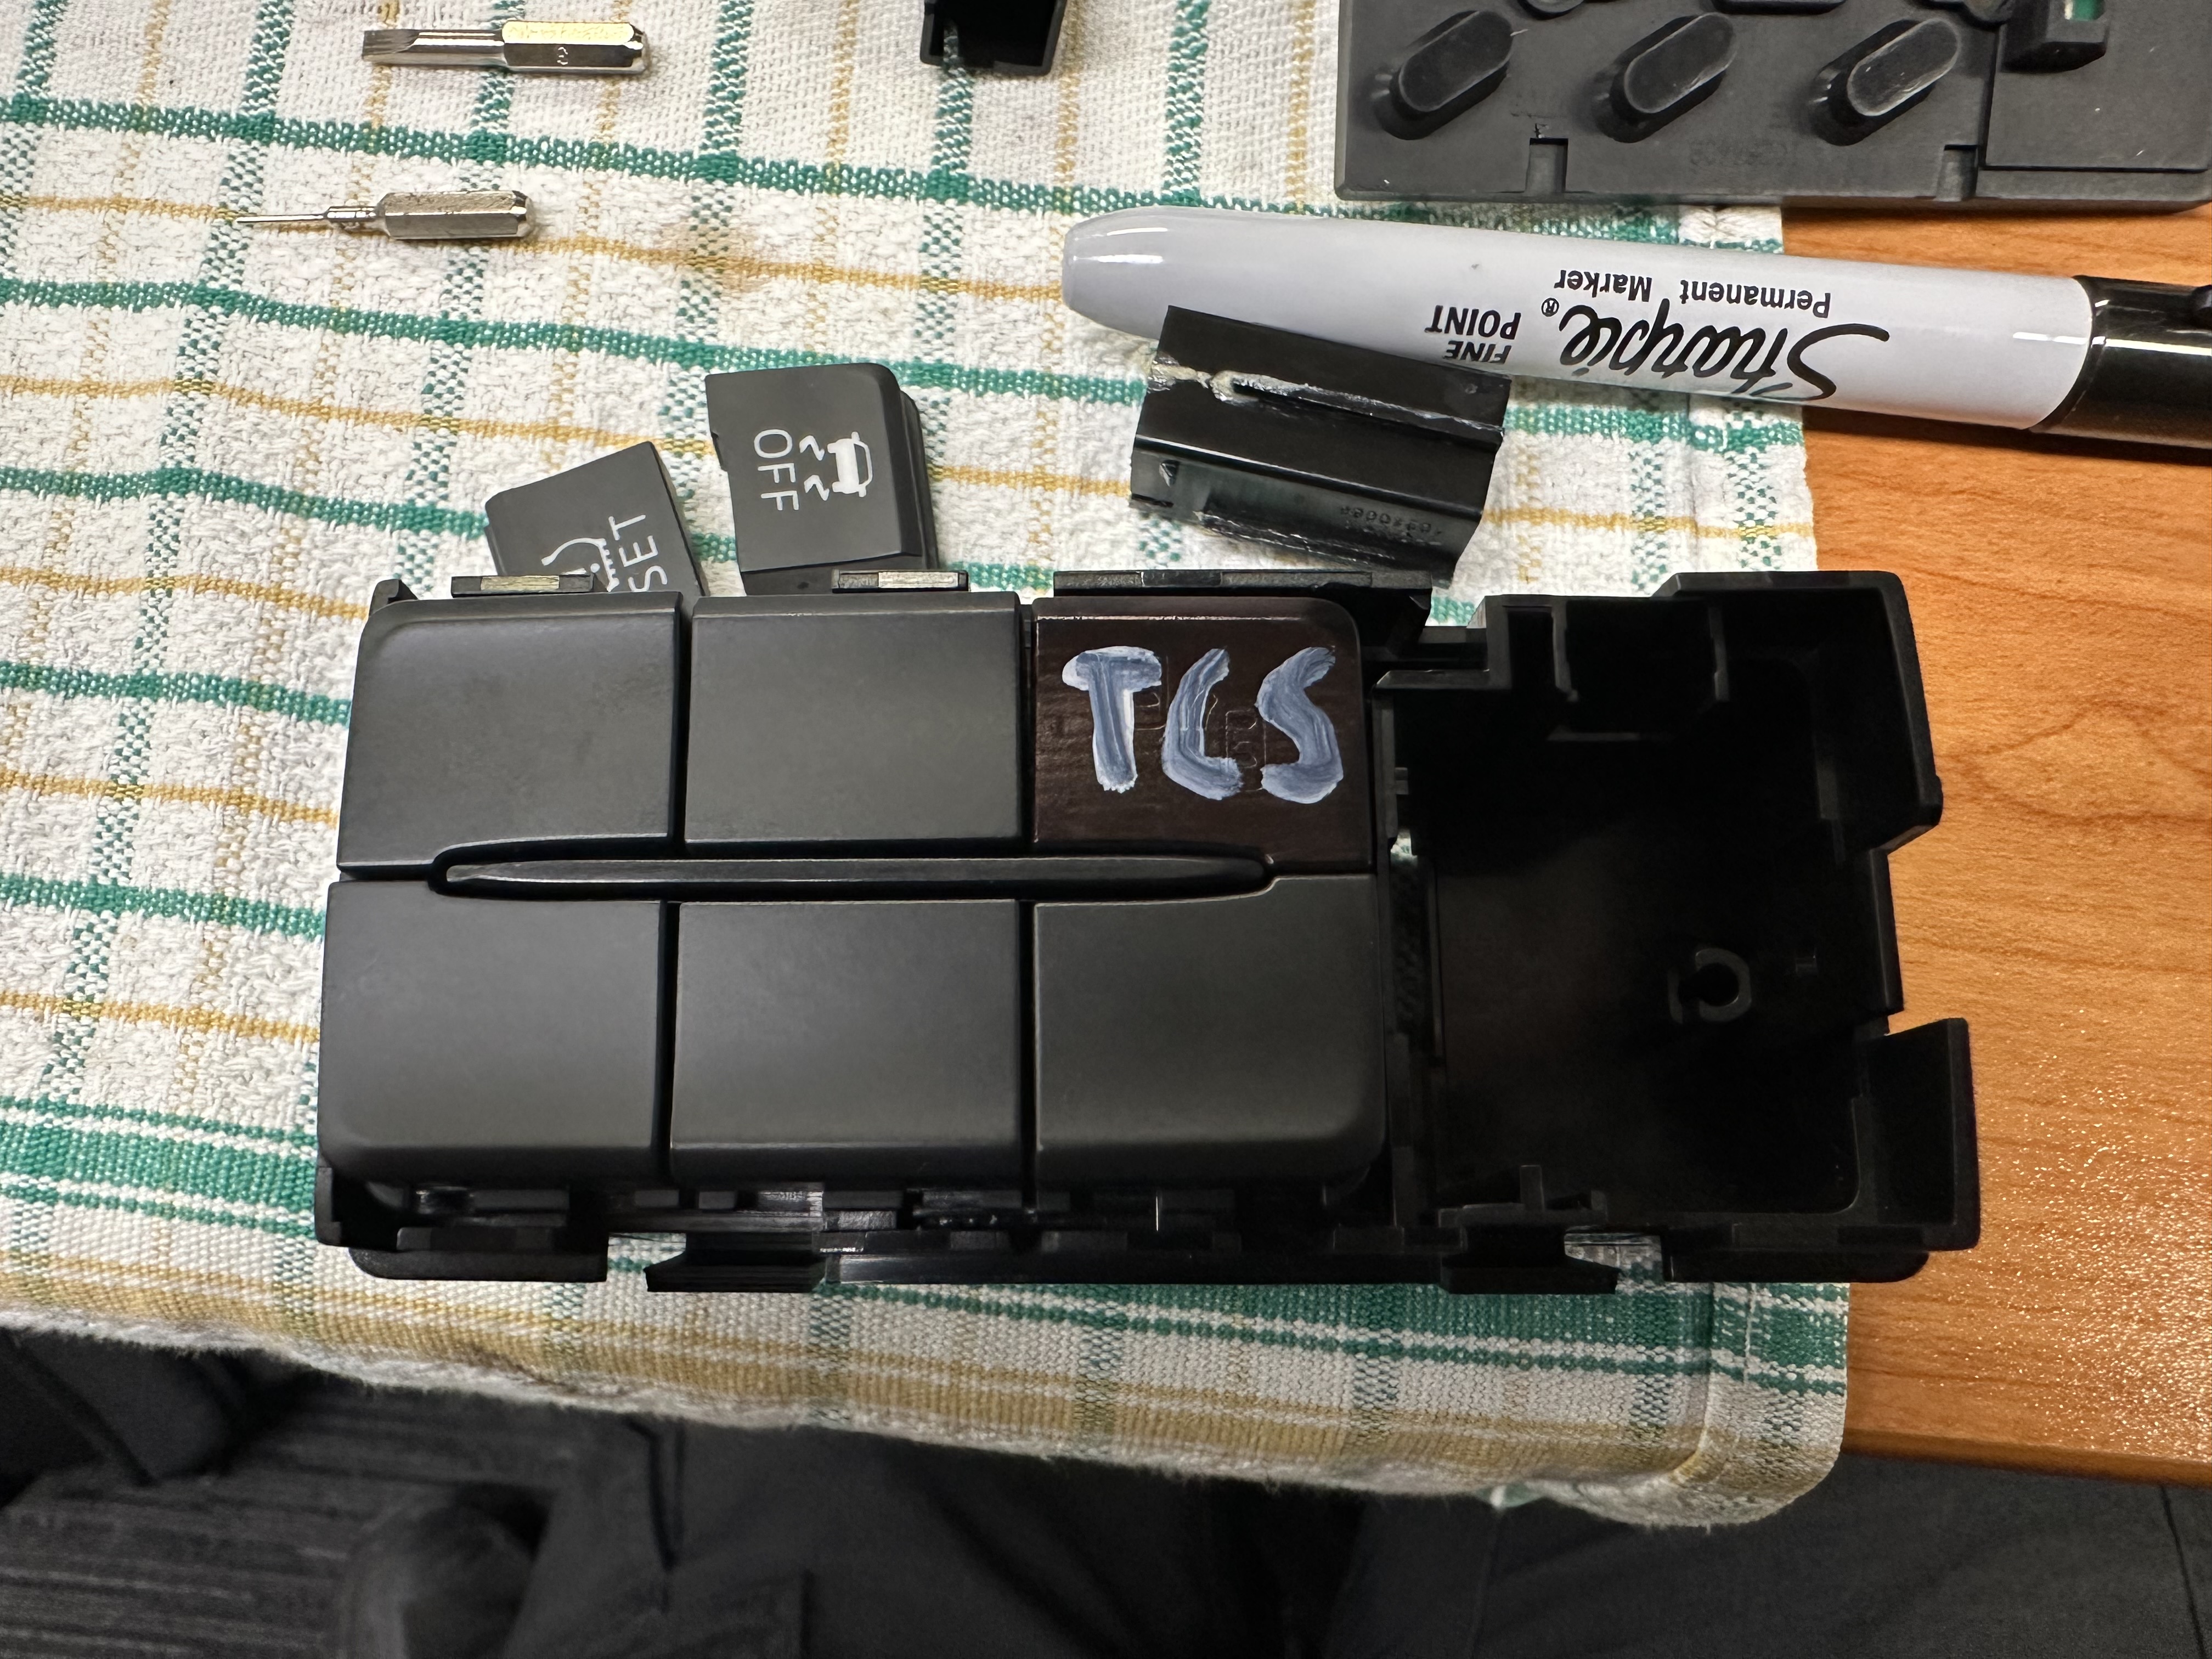
Traction Control ButtonIn some cases the traction control off button stops function. This can be resolved in three ways.
- Ignoring the problem.
- Modifying your current cluster switch to relocate the button from the top left to the top right.
- Buying a cluster with the button in the top right.
TPMS Reset Button
Due to the ND2 moving from wheel speed TPMS to physical TPMS sensors, the TPMS reset button on the cluster panel no longer functions. In the case of the light flashing, it can be cleared with a normal DTC clear.
Parts
-
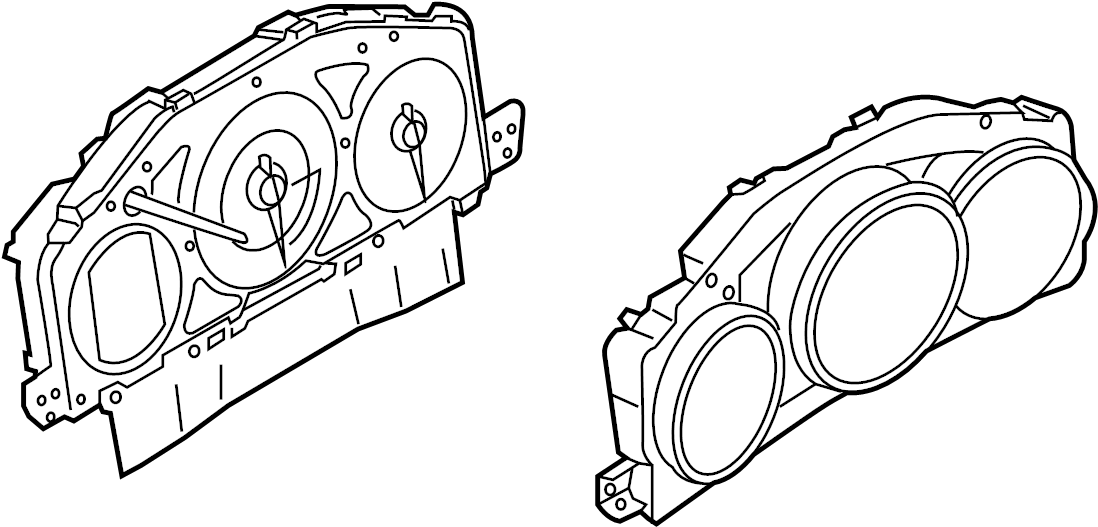
ND2 Instrument Cluster (2019-2024) *RF or ST does not matter, but it must be from an ND2 as the ND1 units do not support Soft Tops*
Tools
-
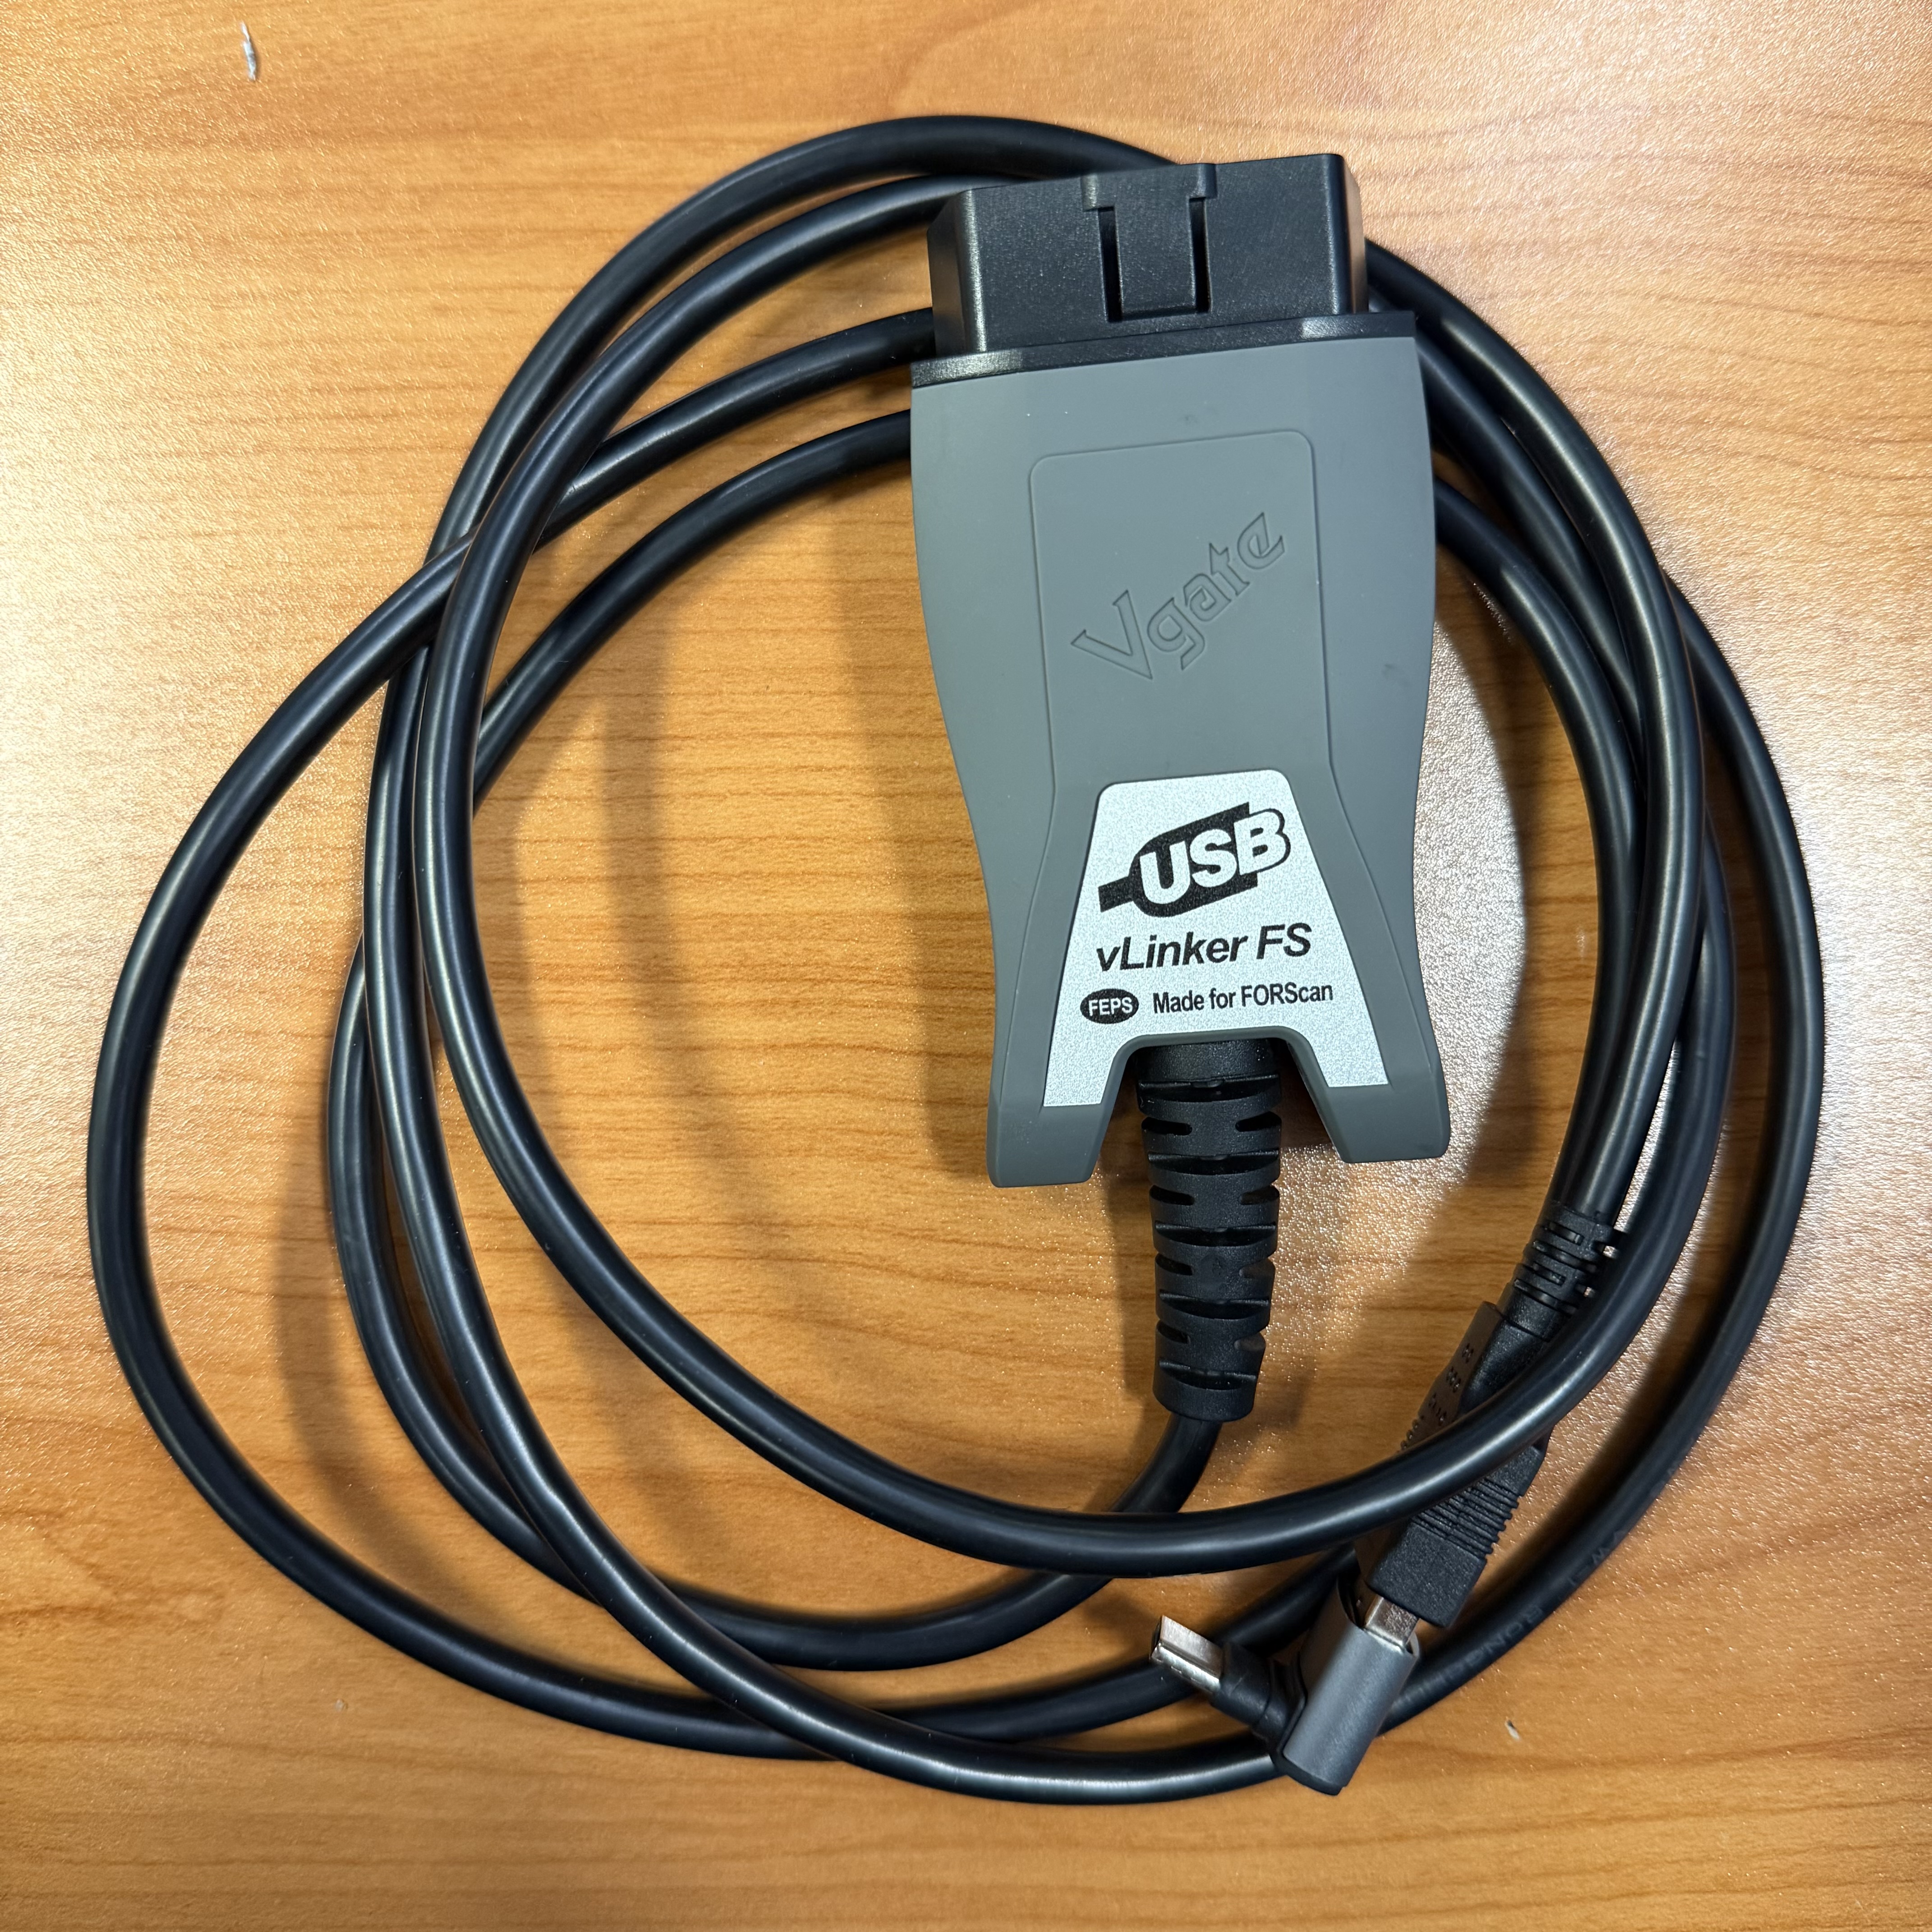
vLinkerFS
-
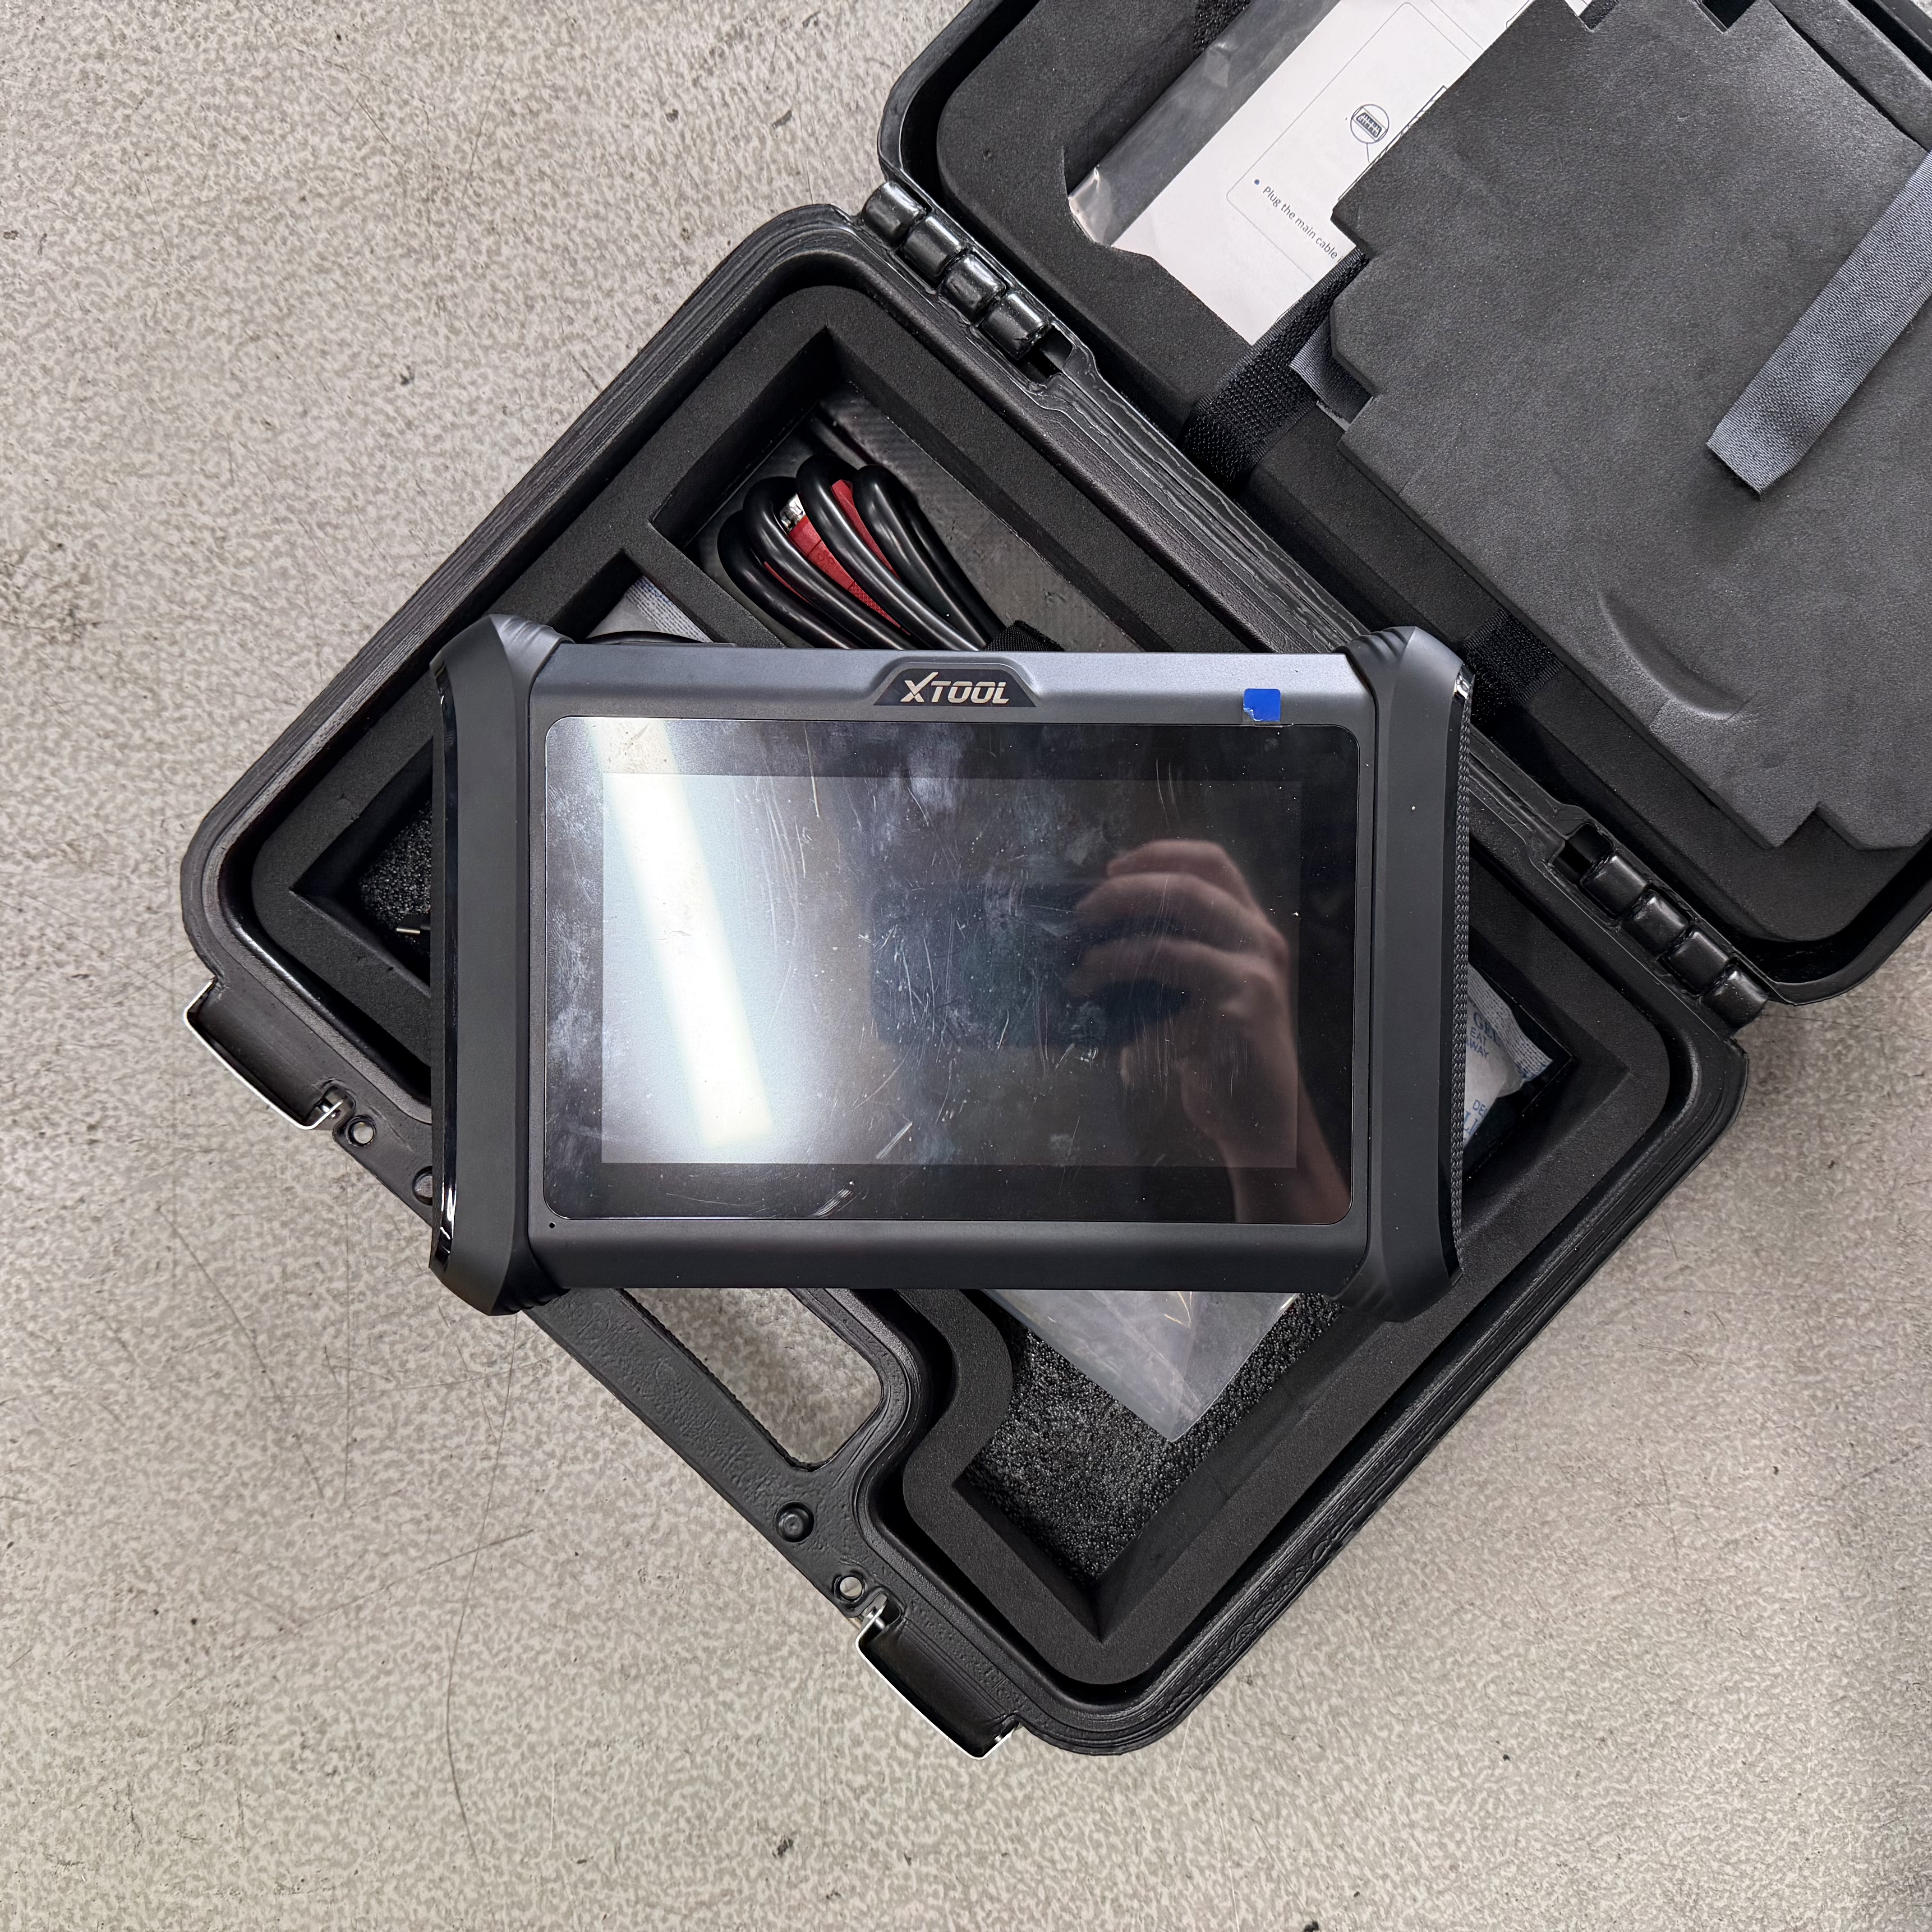
XTool (Or other Odometer editing capable device)
-
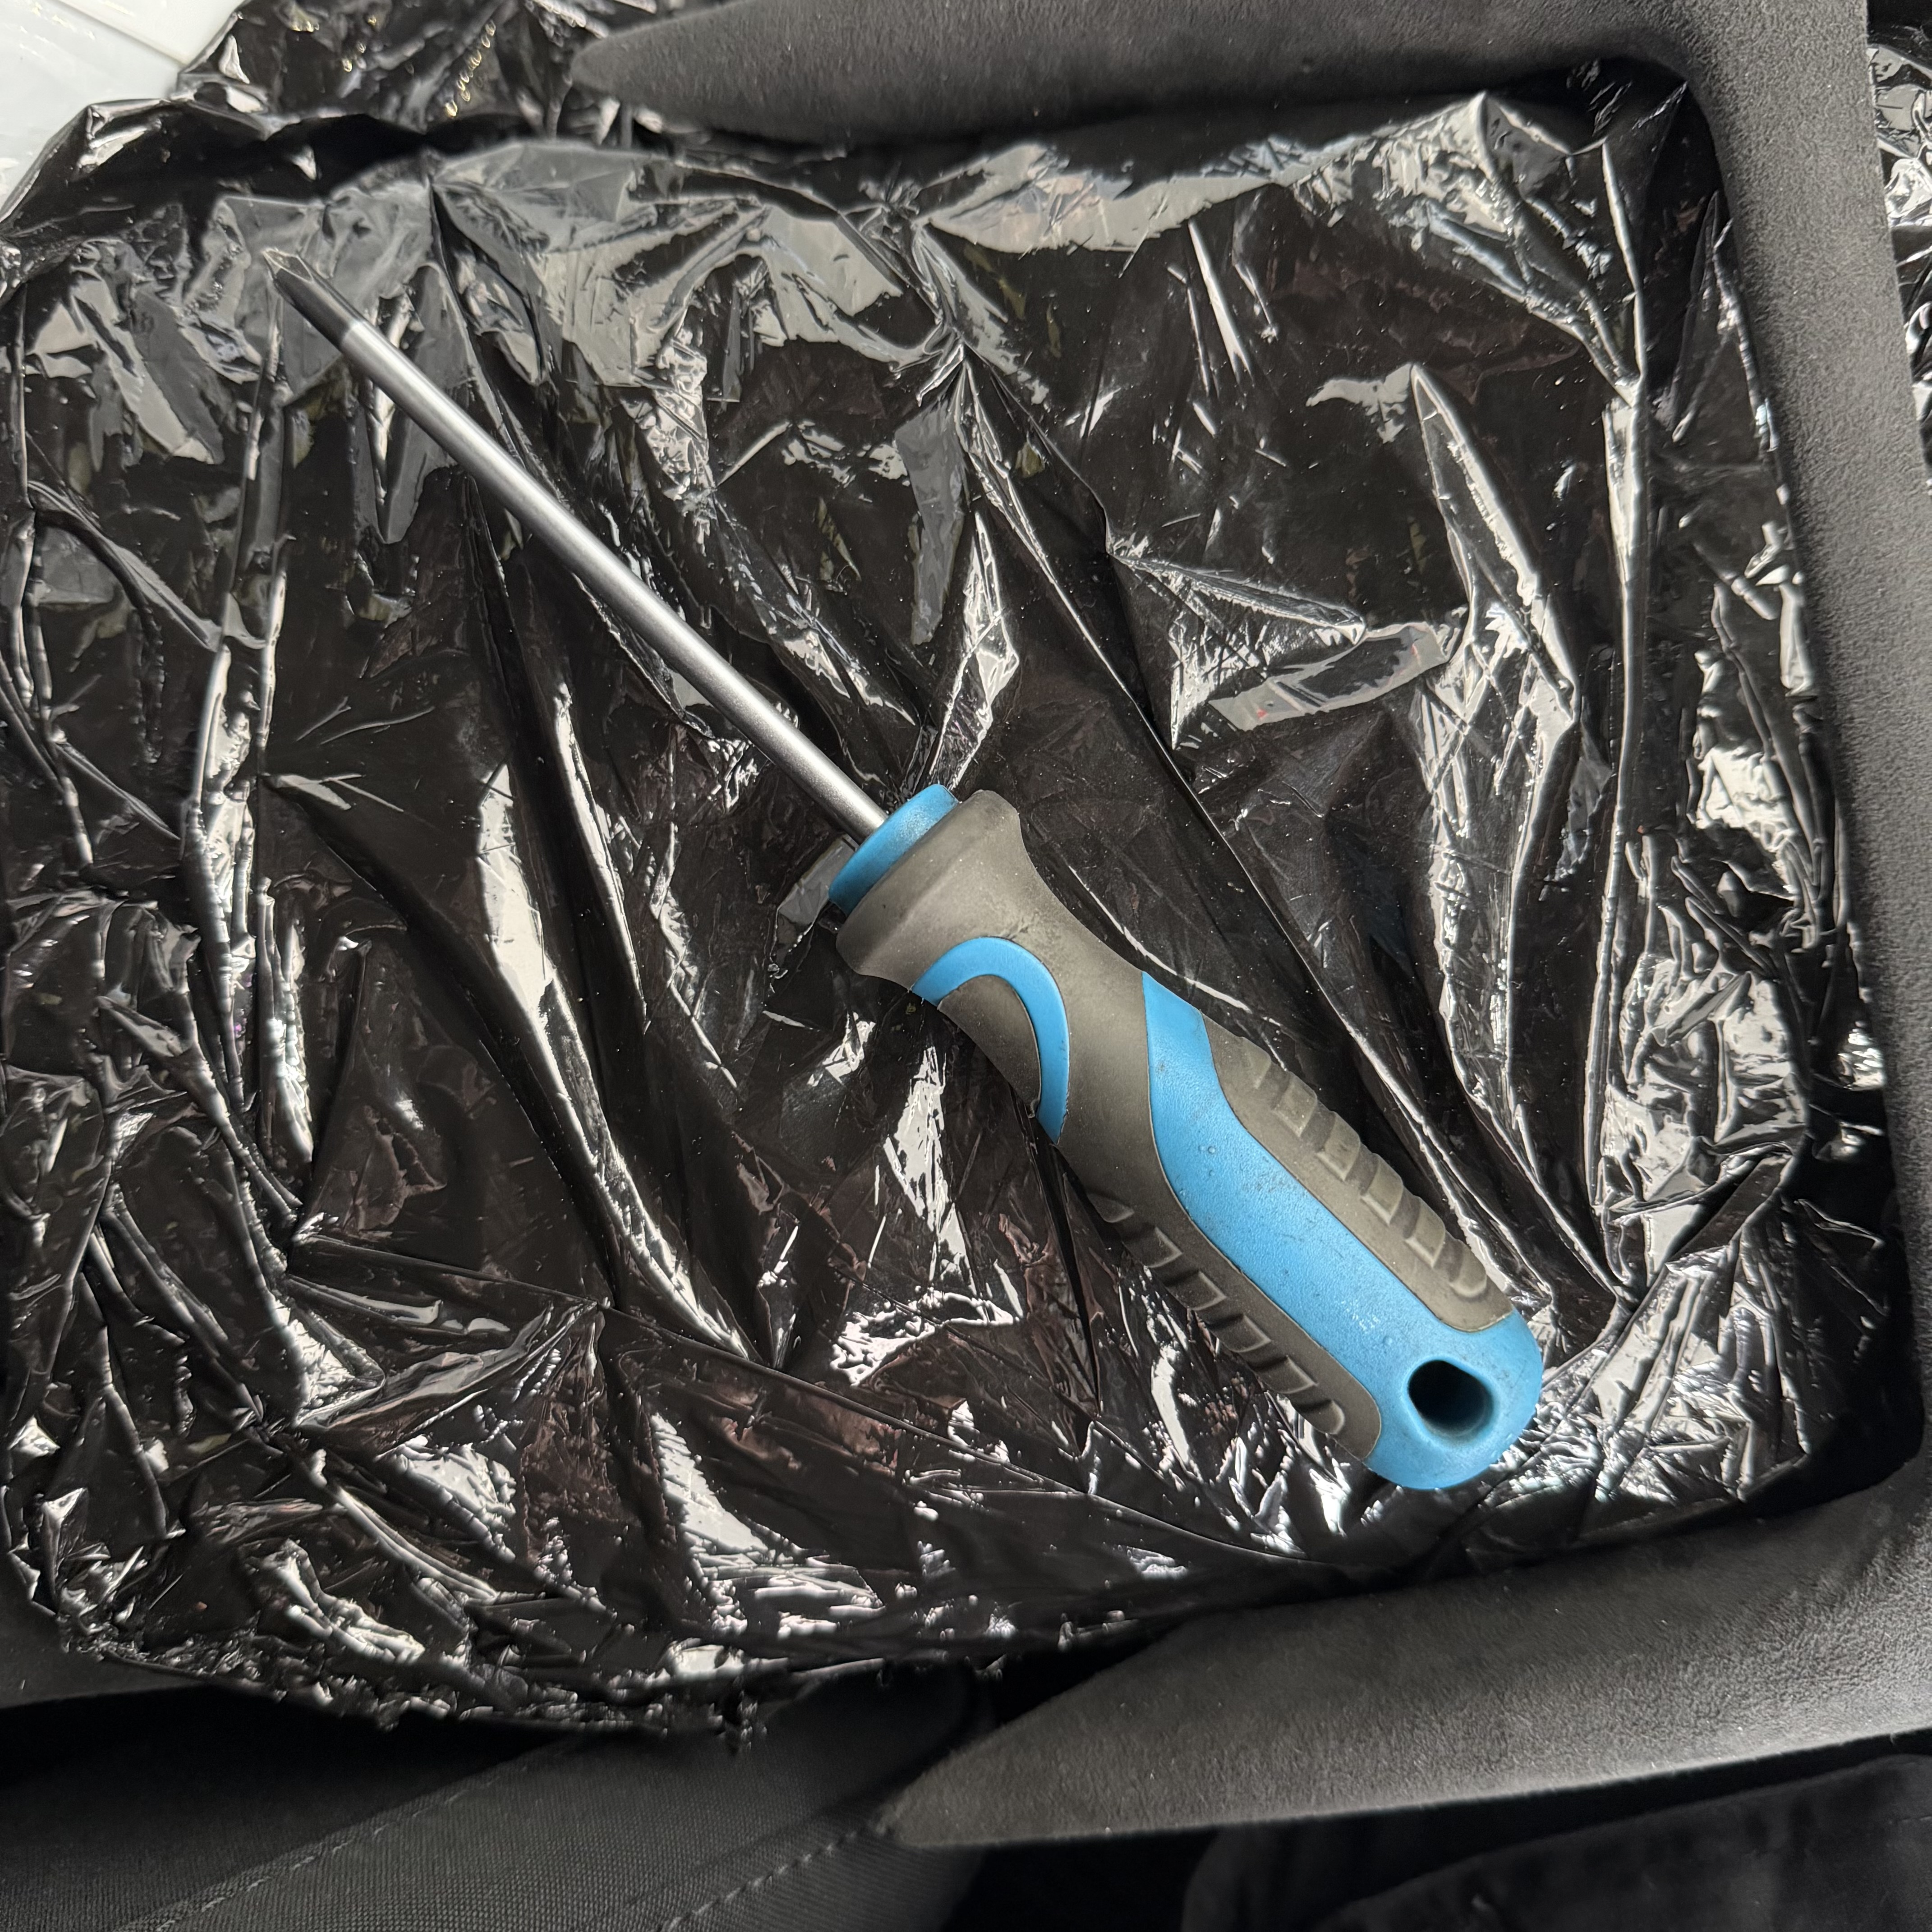
Screwdriver
Installation
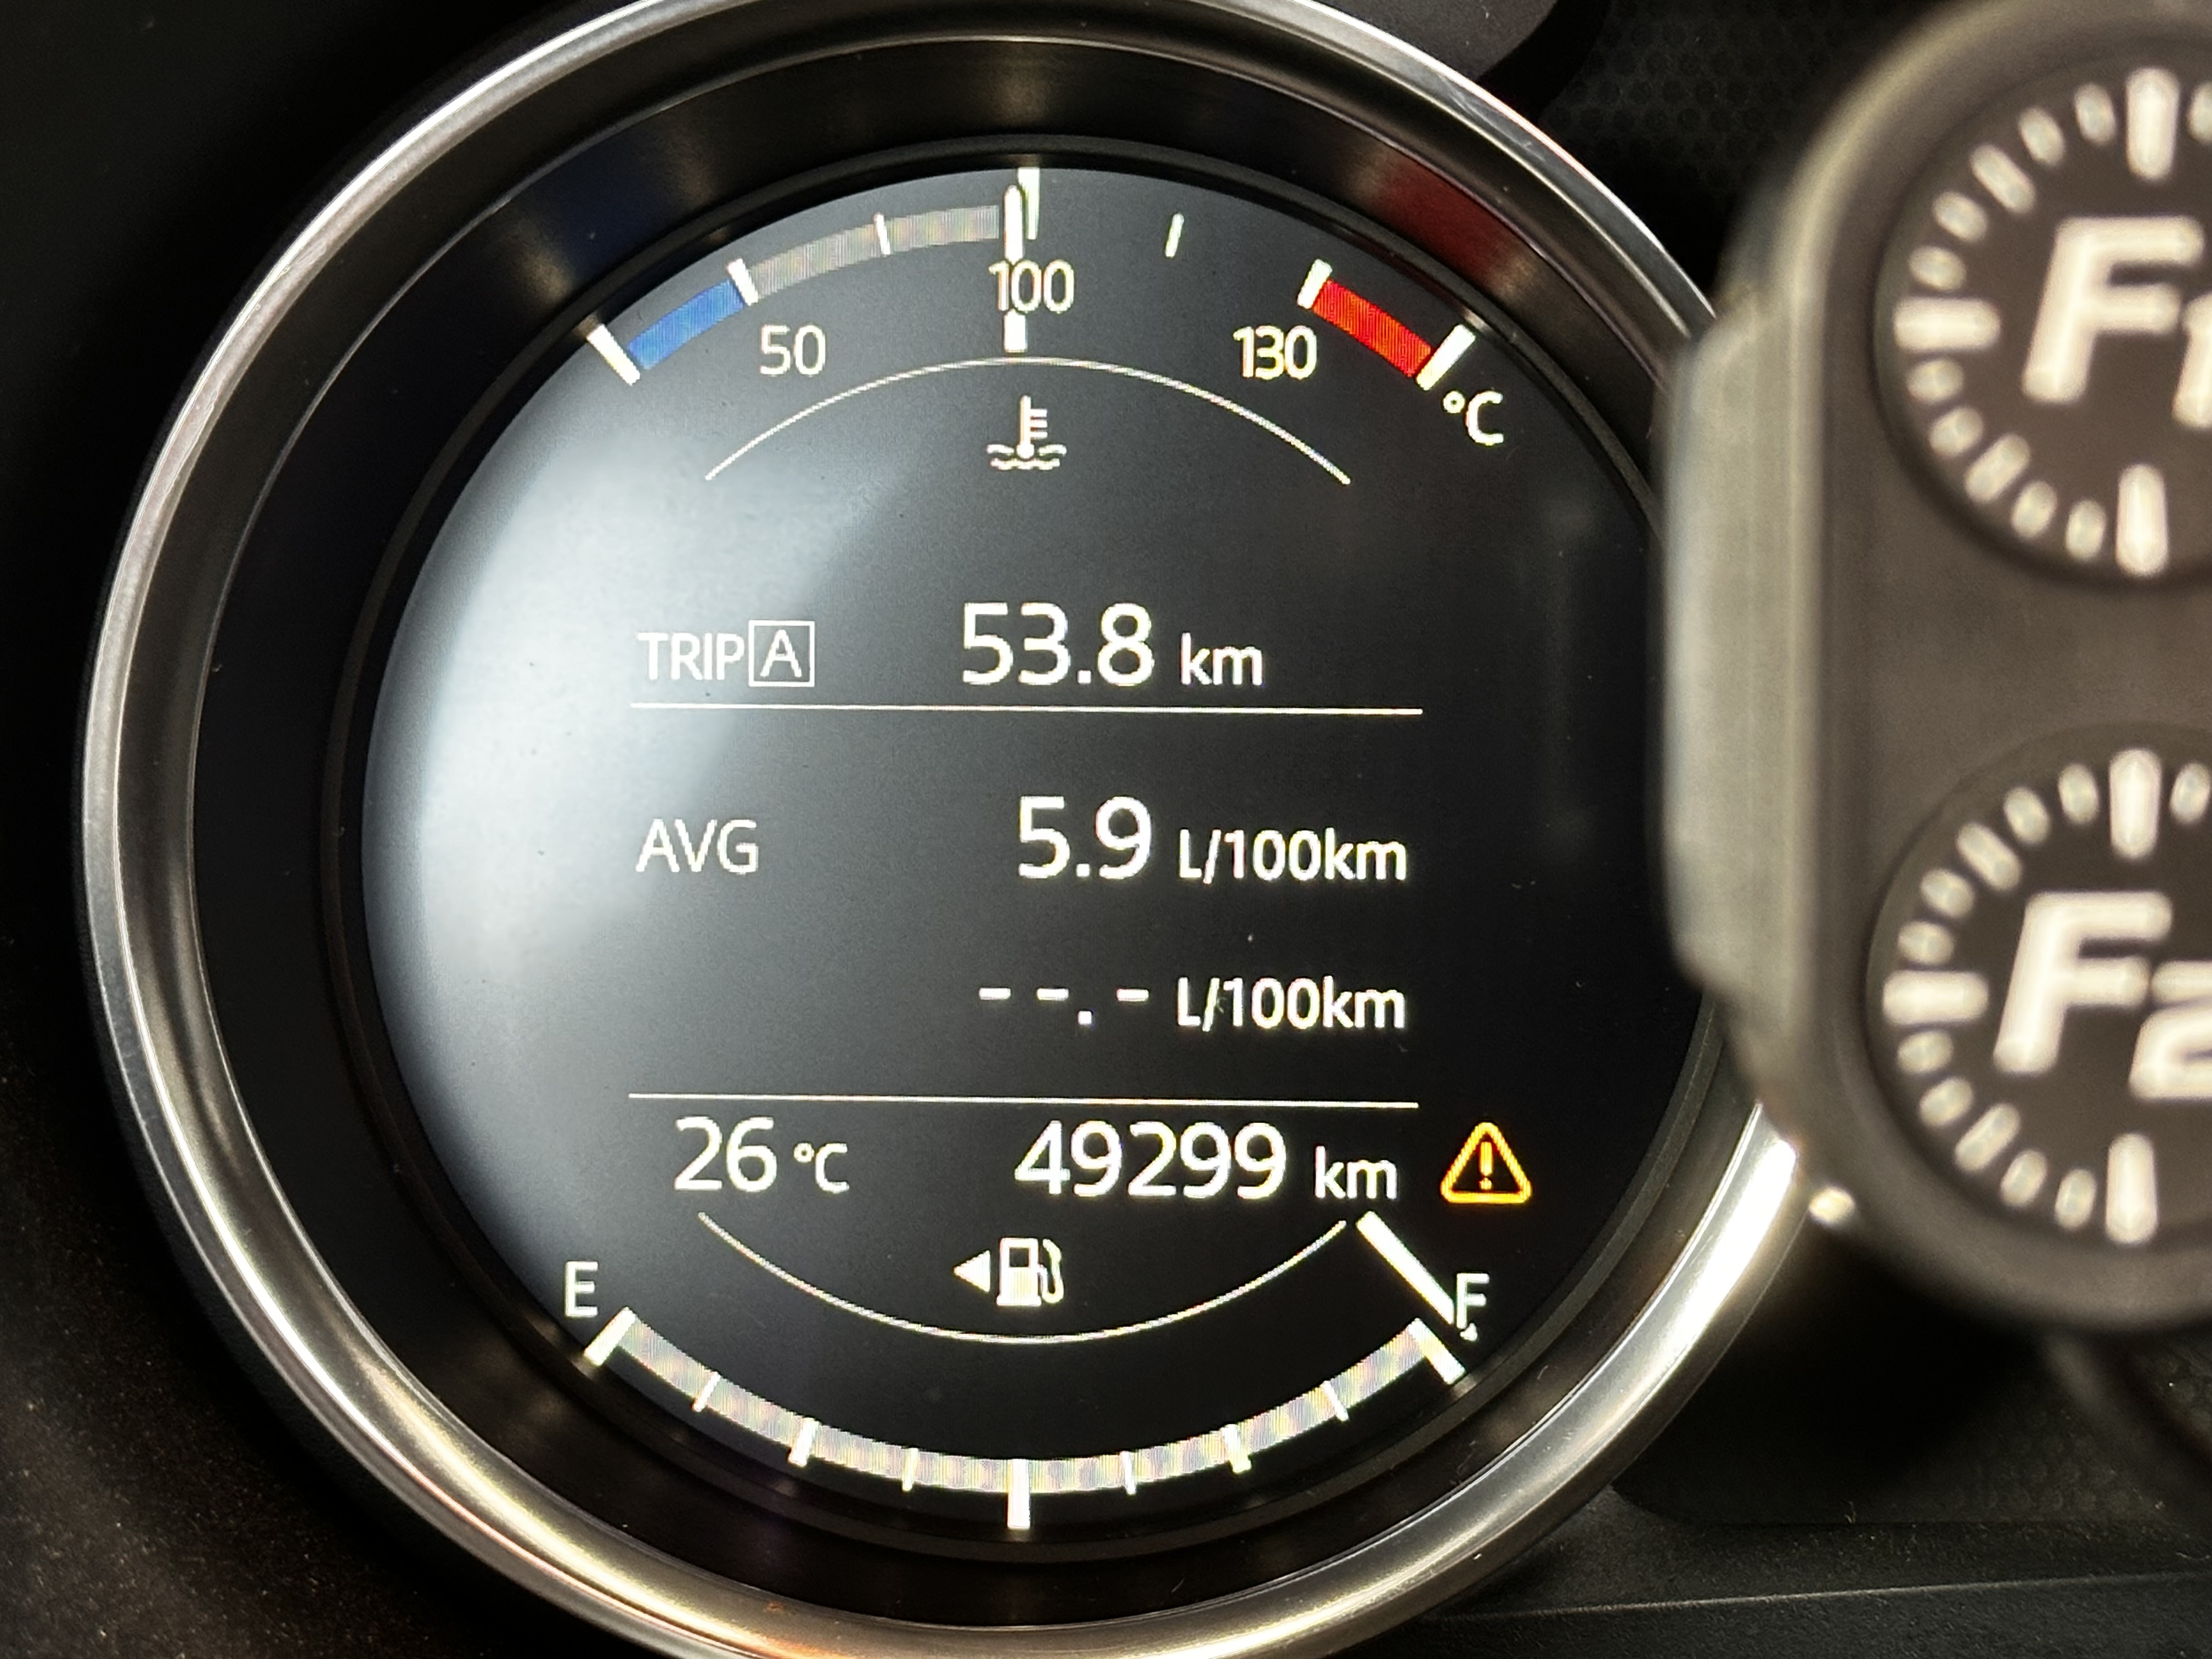
- Before removing the instrument cluster, navigate to the FORscan Coding section to create a backup of your original data. Also record your current odometer reading.
- Start by dislodging the dash trim above the climate controls. It just needs to be slipped out enough to remove the vent with hazard switch above.
- After the harzard panel is removed, pull out on the radio unit, it will dislodge the cluster shroud with it (the big round thing sitting over the instrument cluster).
- Grab on each edge of the cluster shroud and pull outwards to unclip. It might be easier to adjust the steering wheel all the way down and out of the way.
- On the passenger side of the shroud there will be a single plug that needs to be undone to fully pull away the shroud. It can be a little hard to release but be careful as to not pull on the wires as they are a very small gauge and might break.
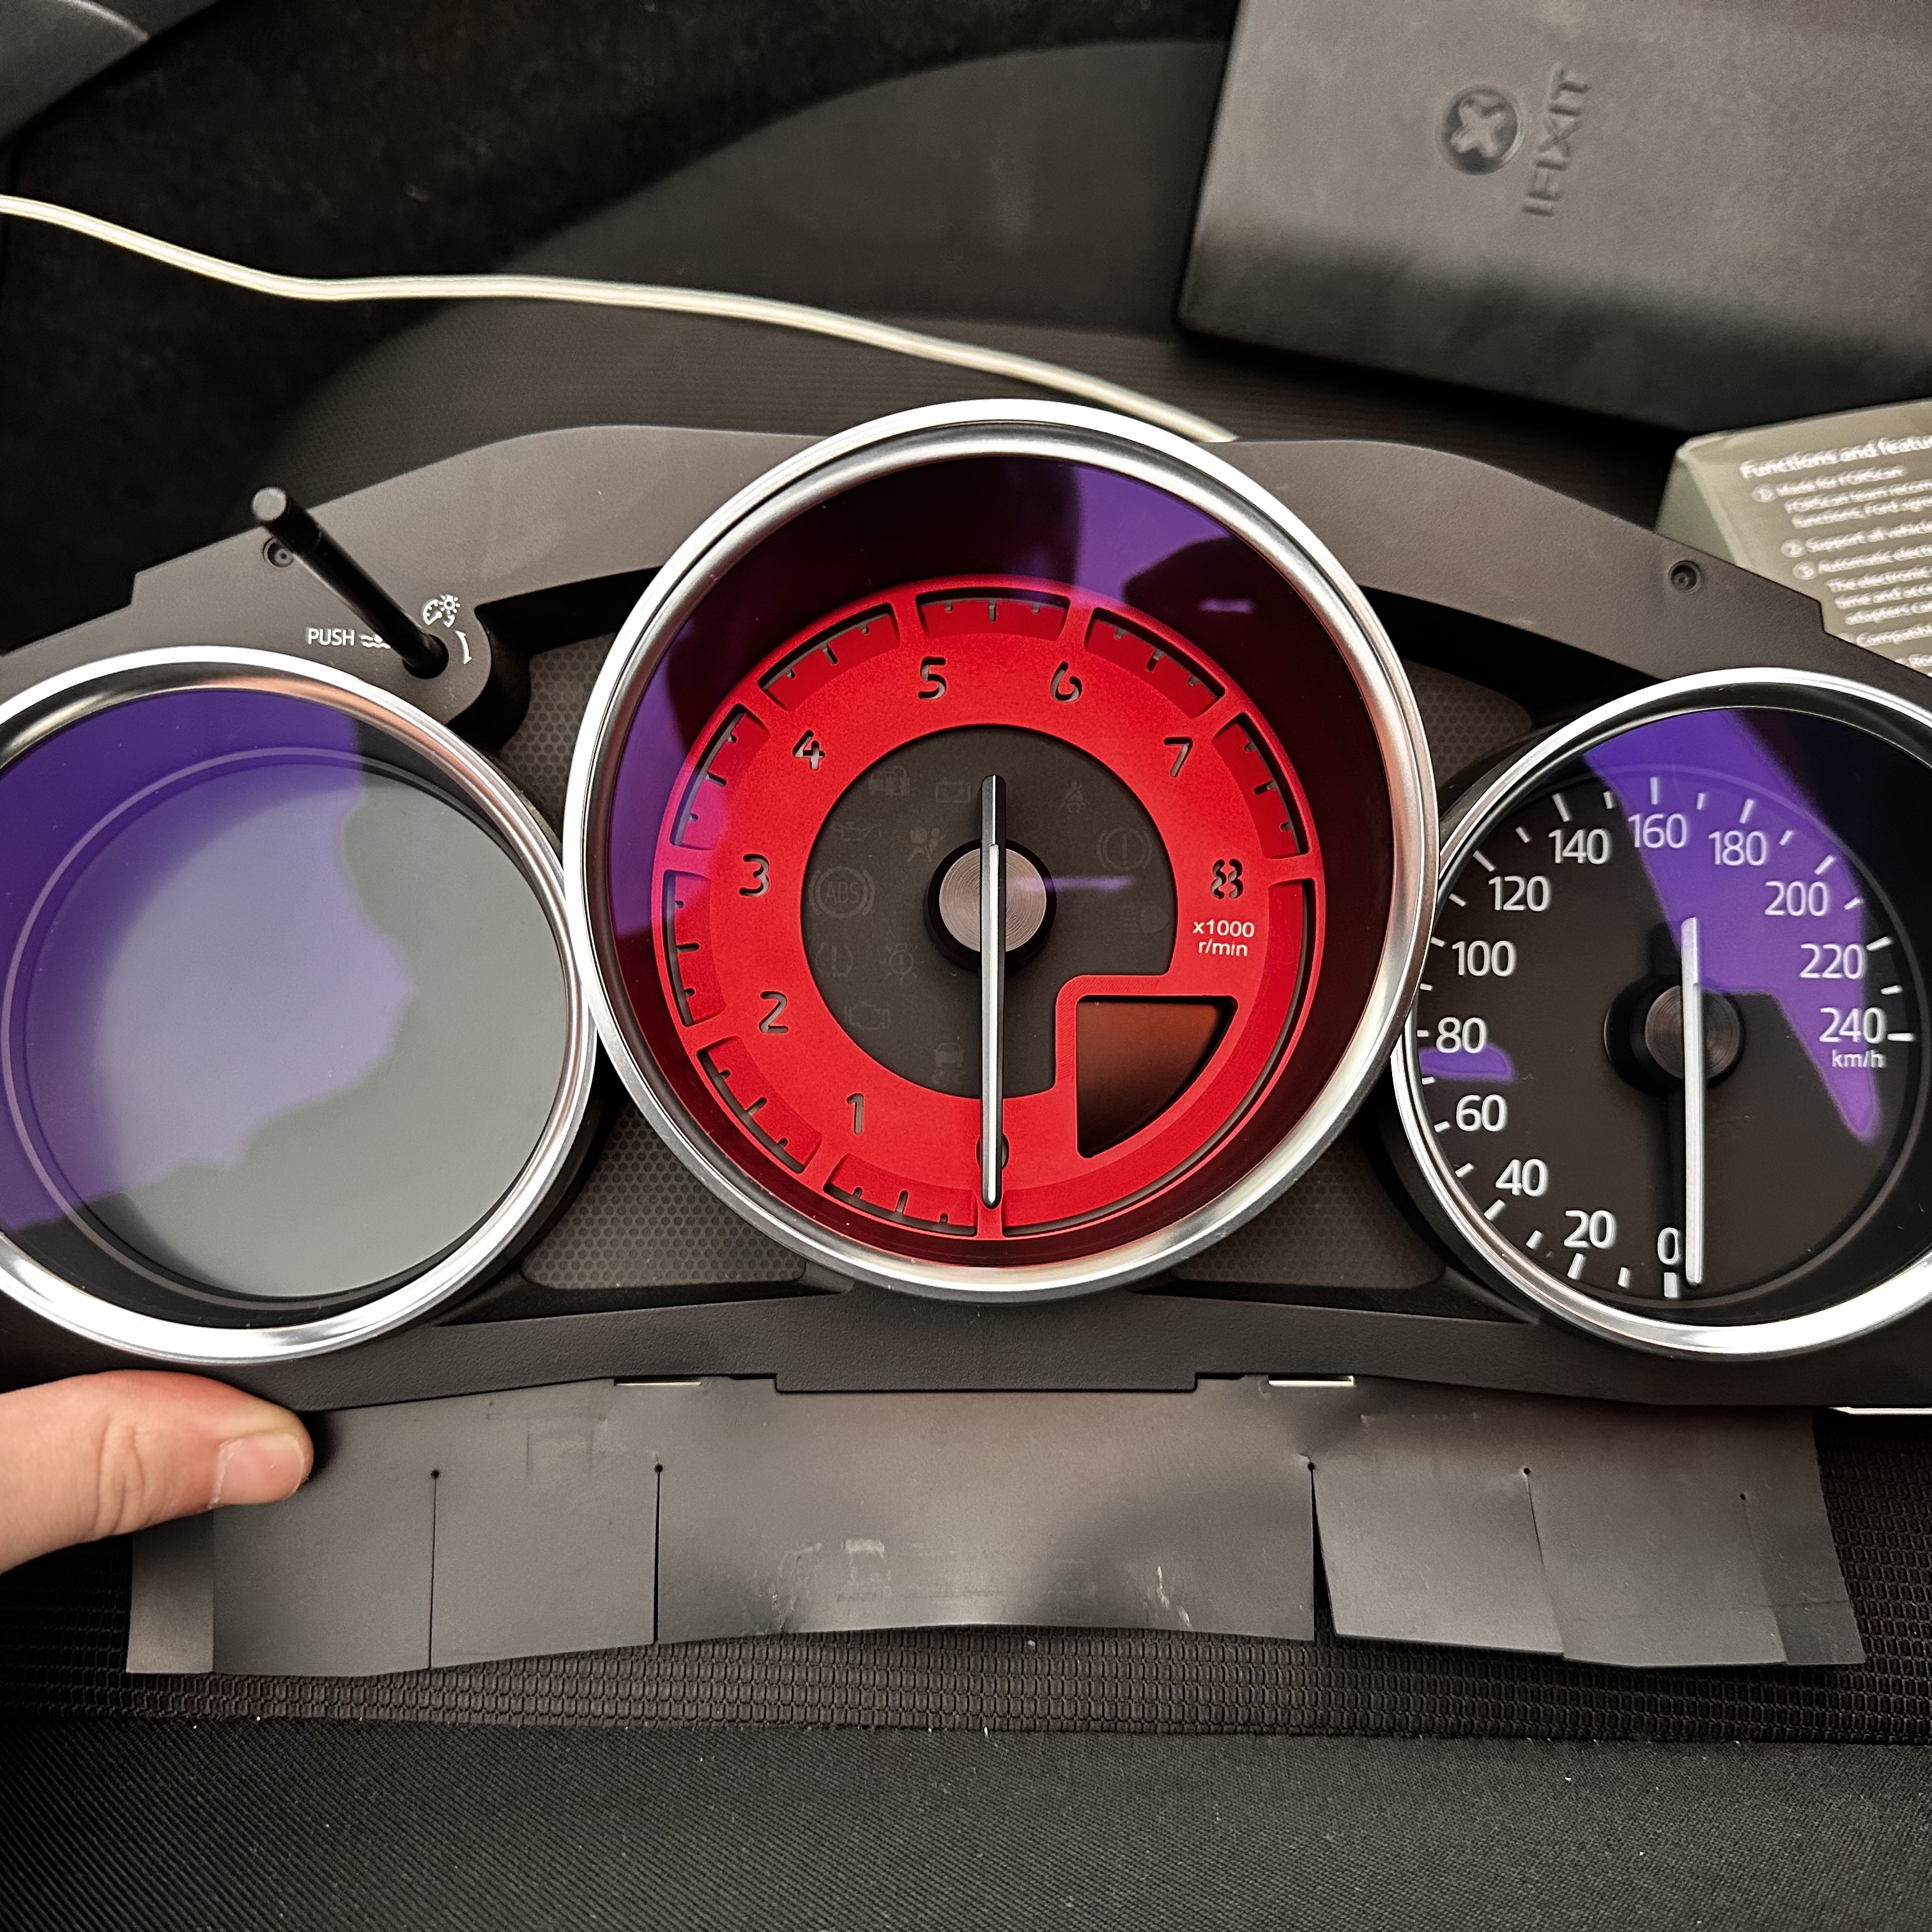
- Once all of those panels are removed you should be able to access the bare instrument cluster.
- Finally remove the two phillips screws on each side of the cluster then pull out and unplug. Reverse the steps with the new cluster to complete.


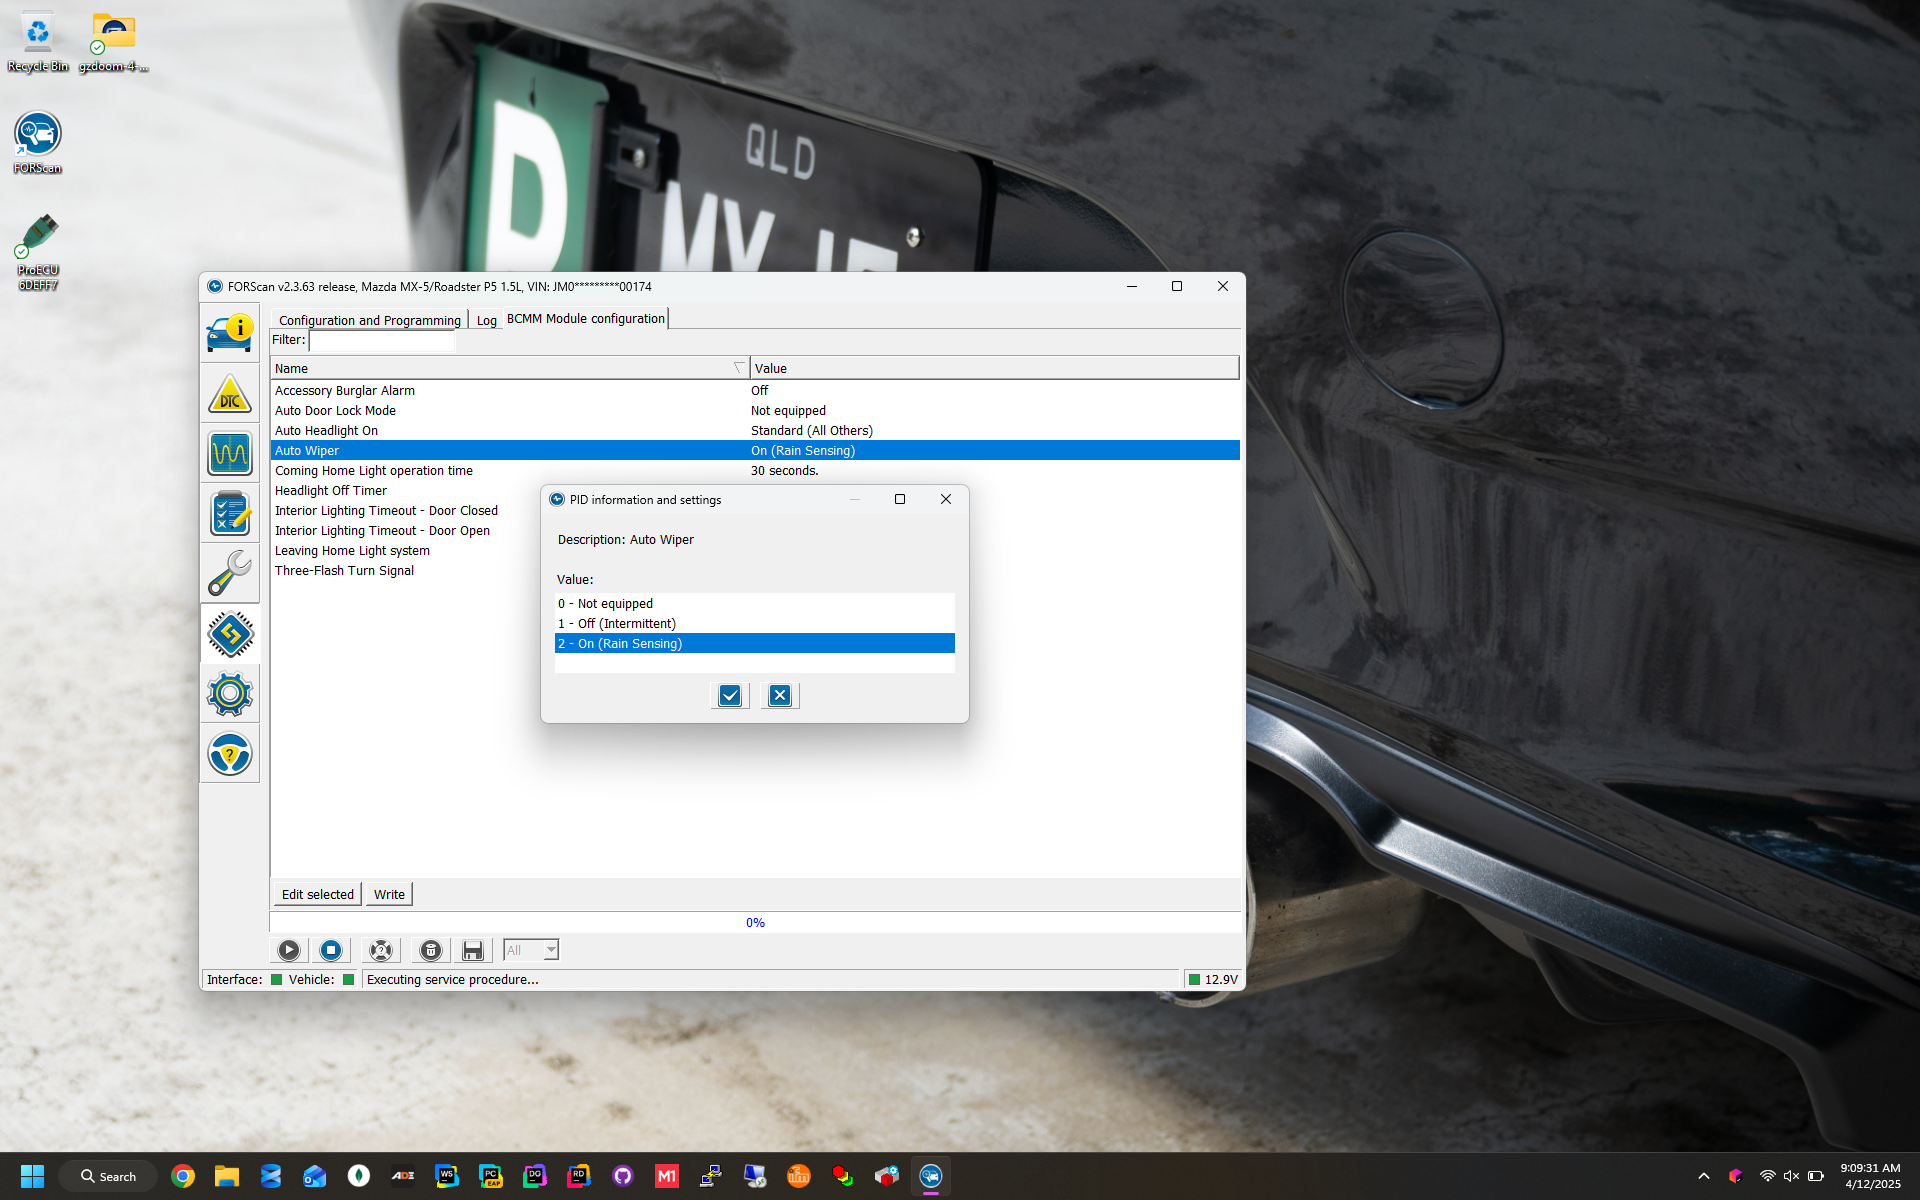
FORscan Coding
- After installing and setting up your FORscan license, connect to the car.
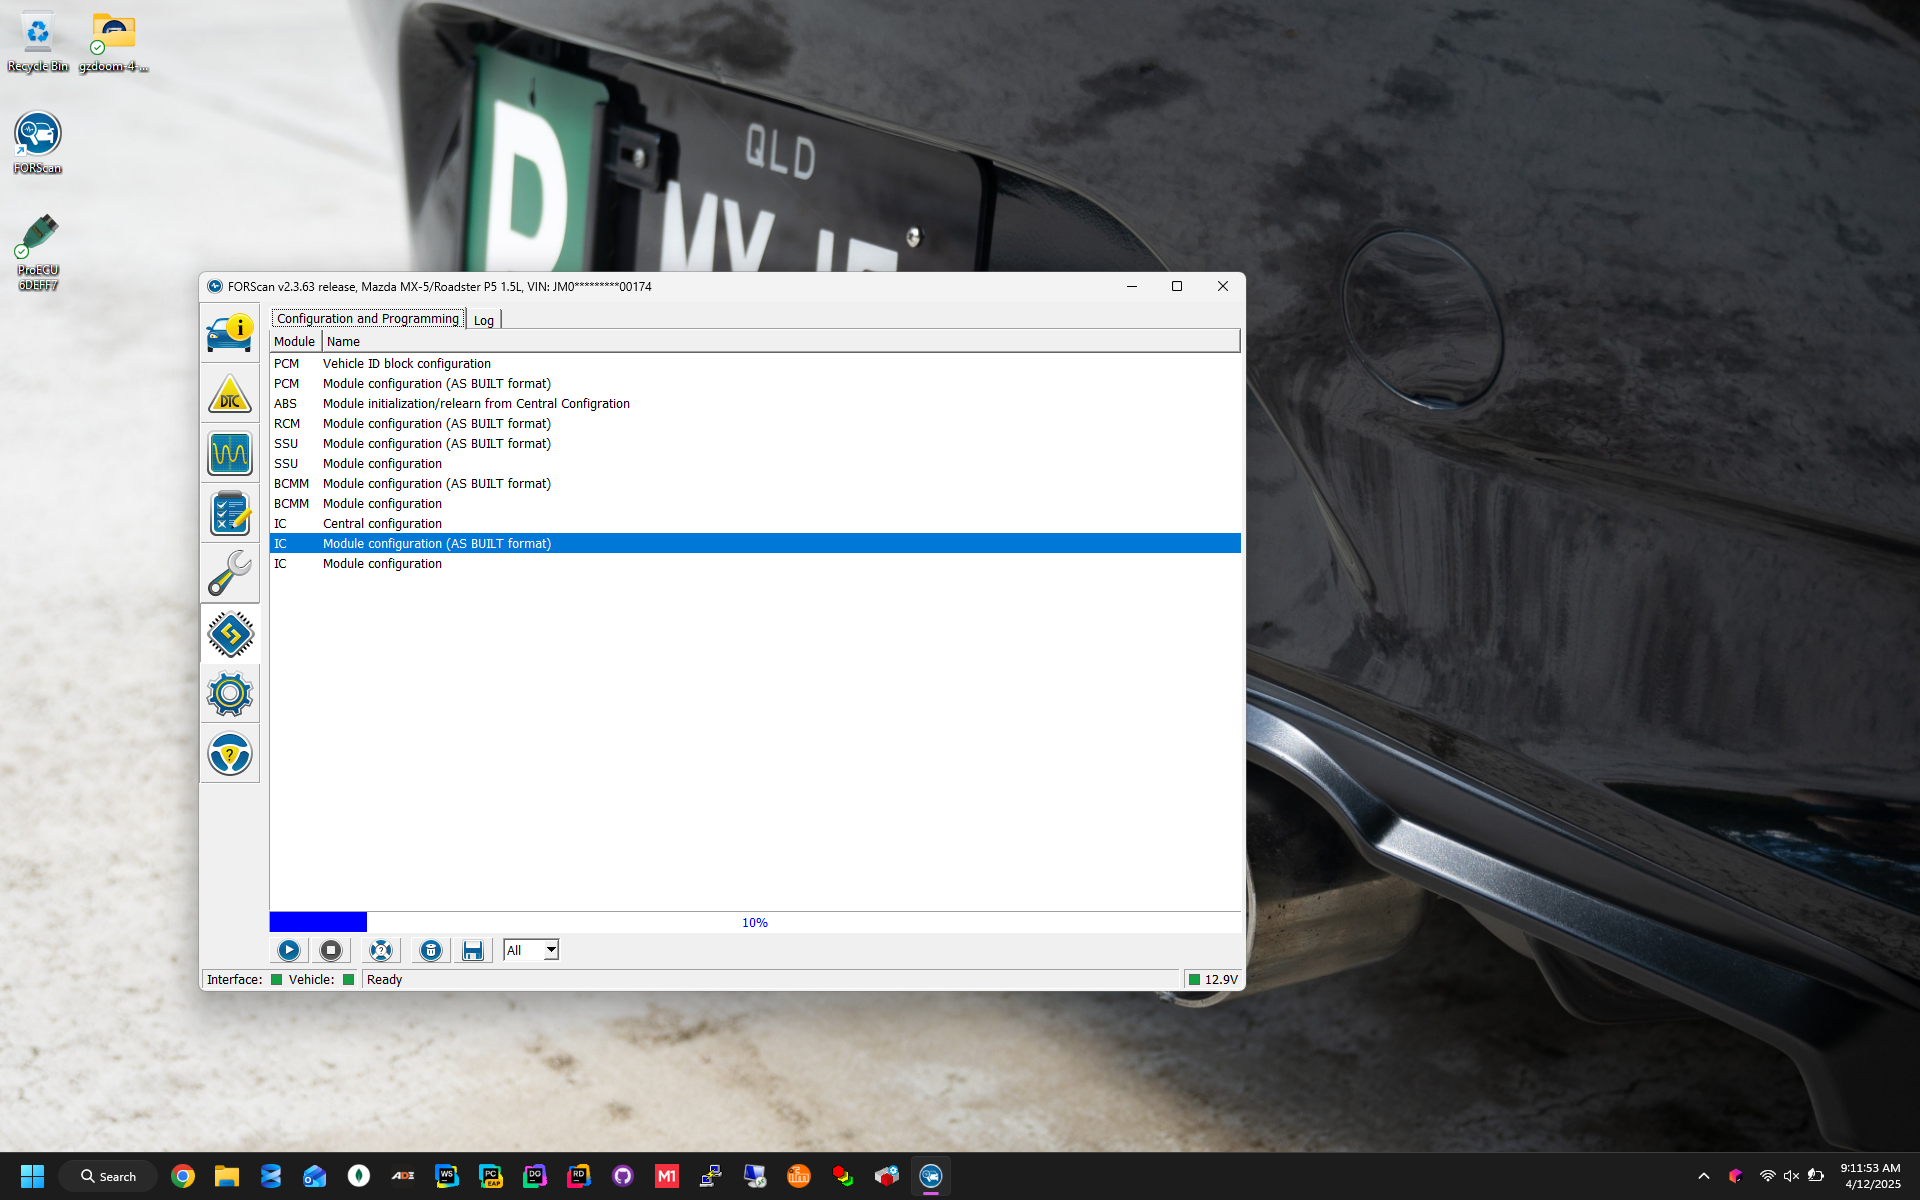
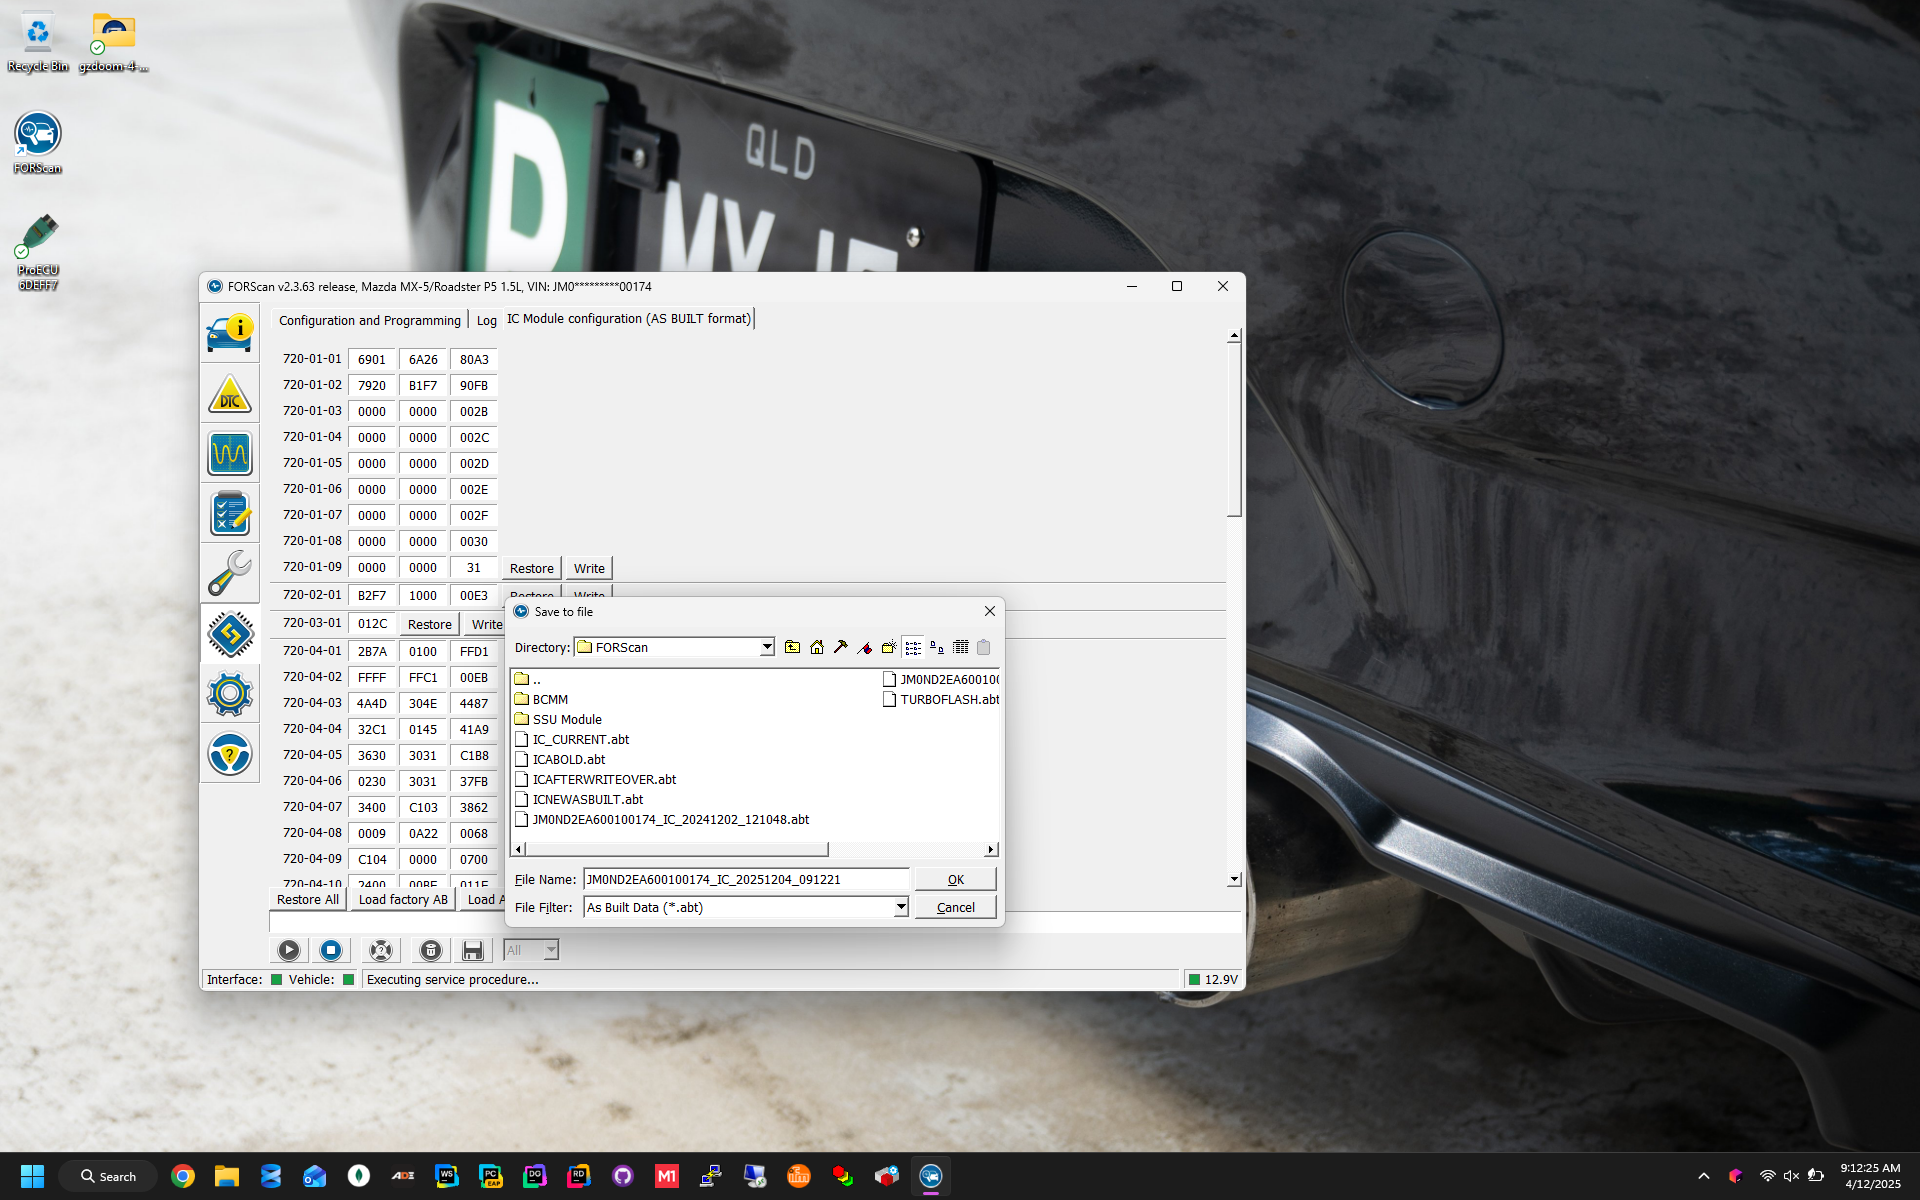
- After connecting to the car successfully, navigate to the programming page and select IC (AS-BUILT)
- Once the AS-BUILT data is displayed, select the SAVE ALL option
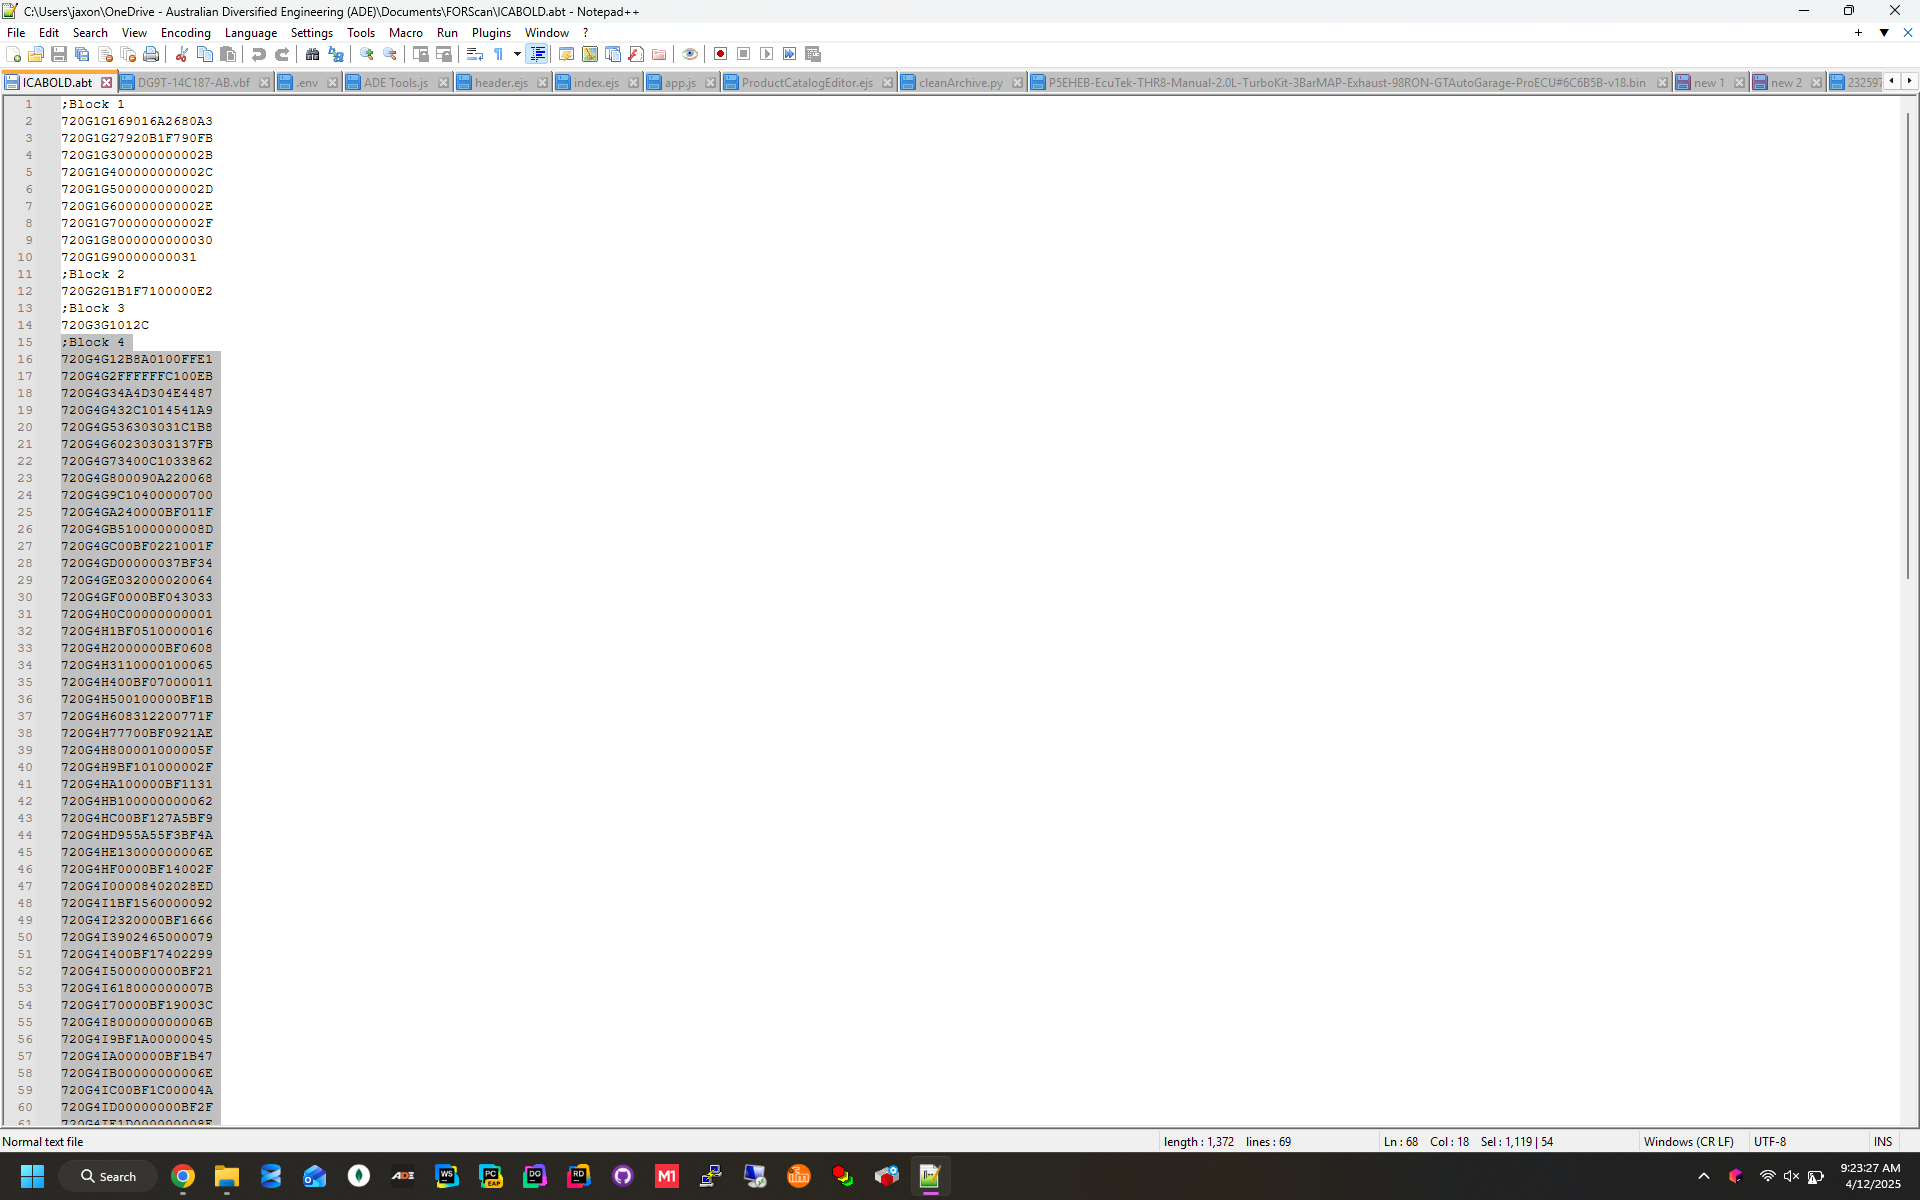
- After saving you will see a file that when opened, contains raw hex data separated into 4 blocks.
- After cluster install, repeat the process again. INCLUDING backing up your new clusters data.
- Now that both clusters as built data is backed up and the new cluster is installed, within the as built configuration editor, select the LOAD ALL button and choose your OLD CLUSTERS backup.
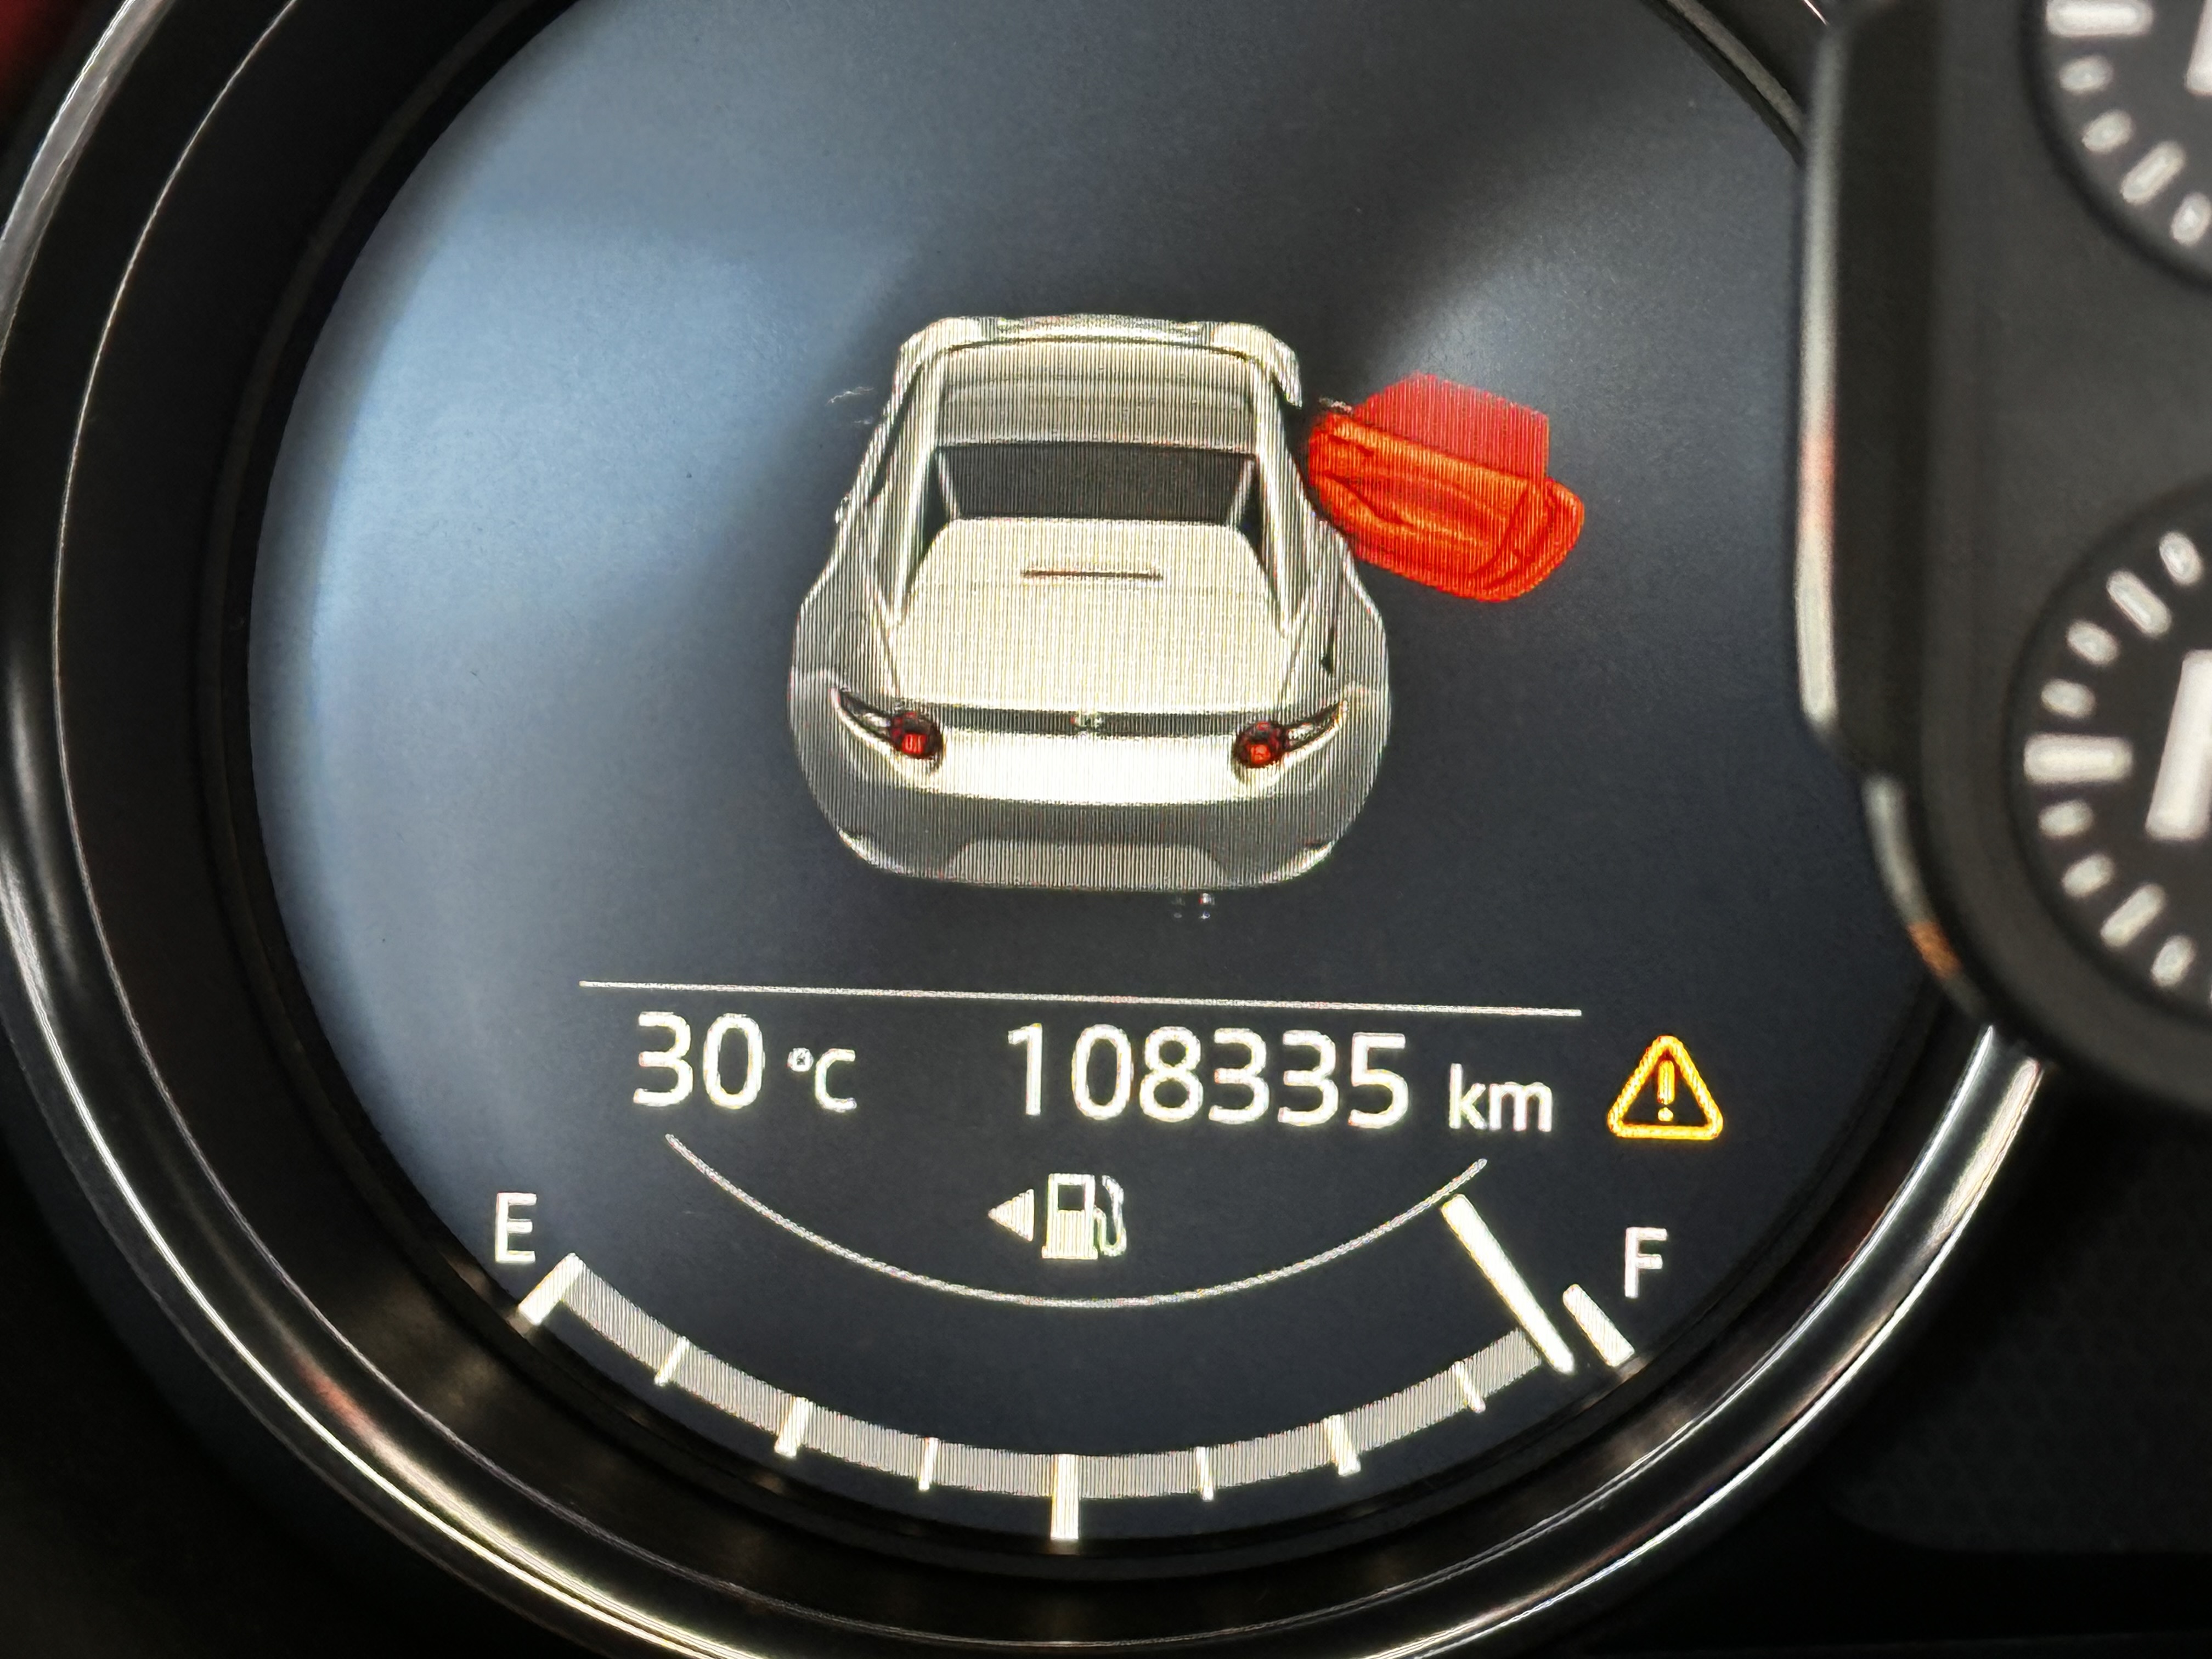
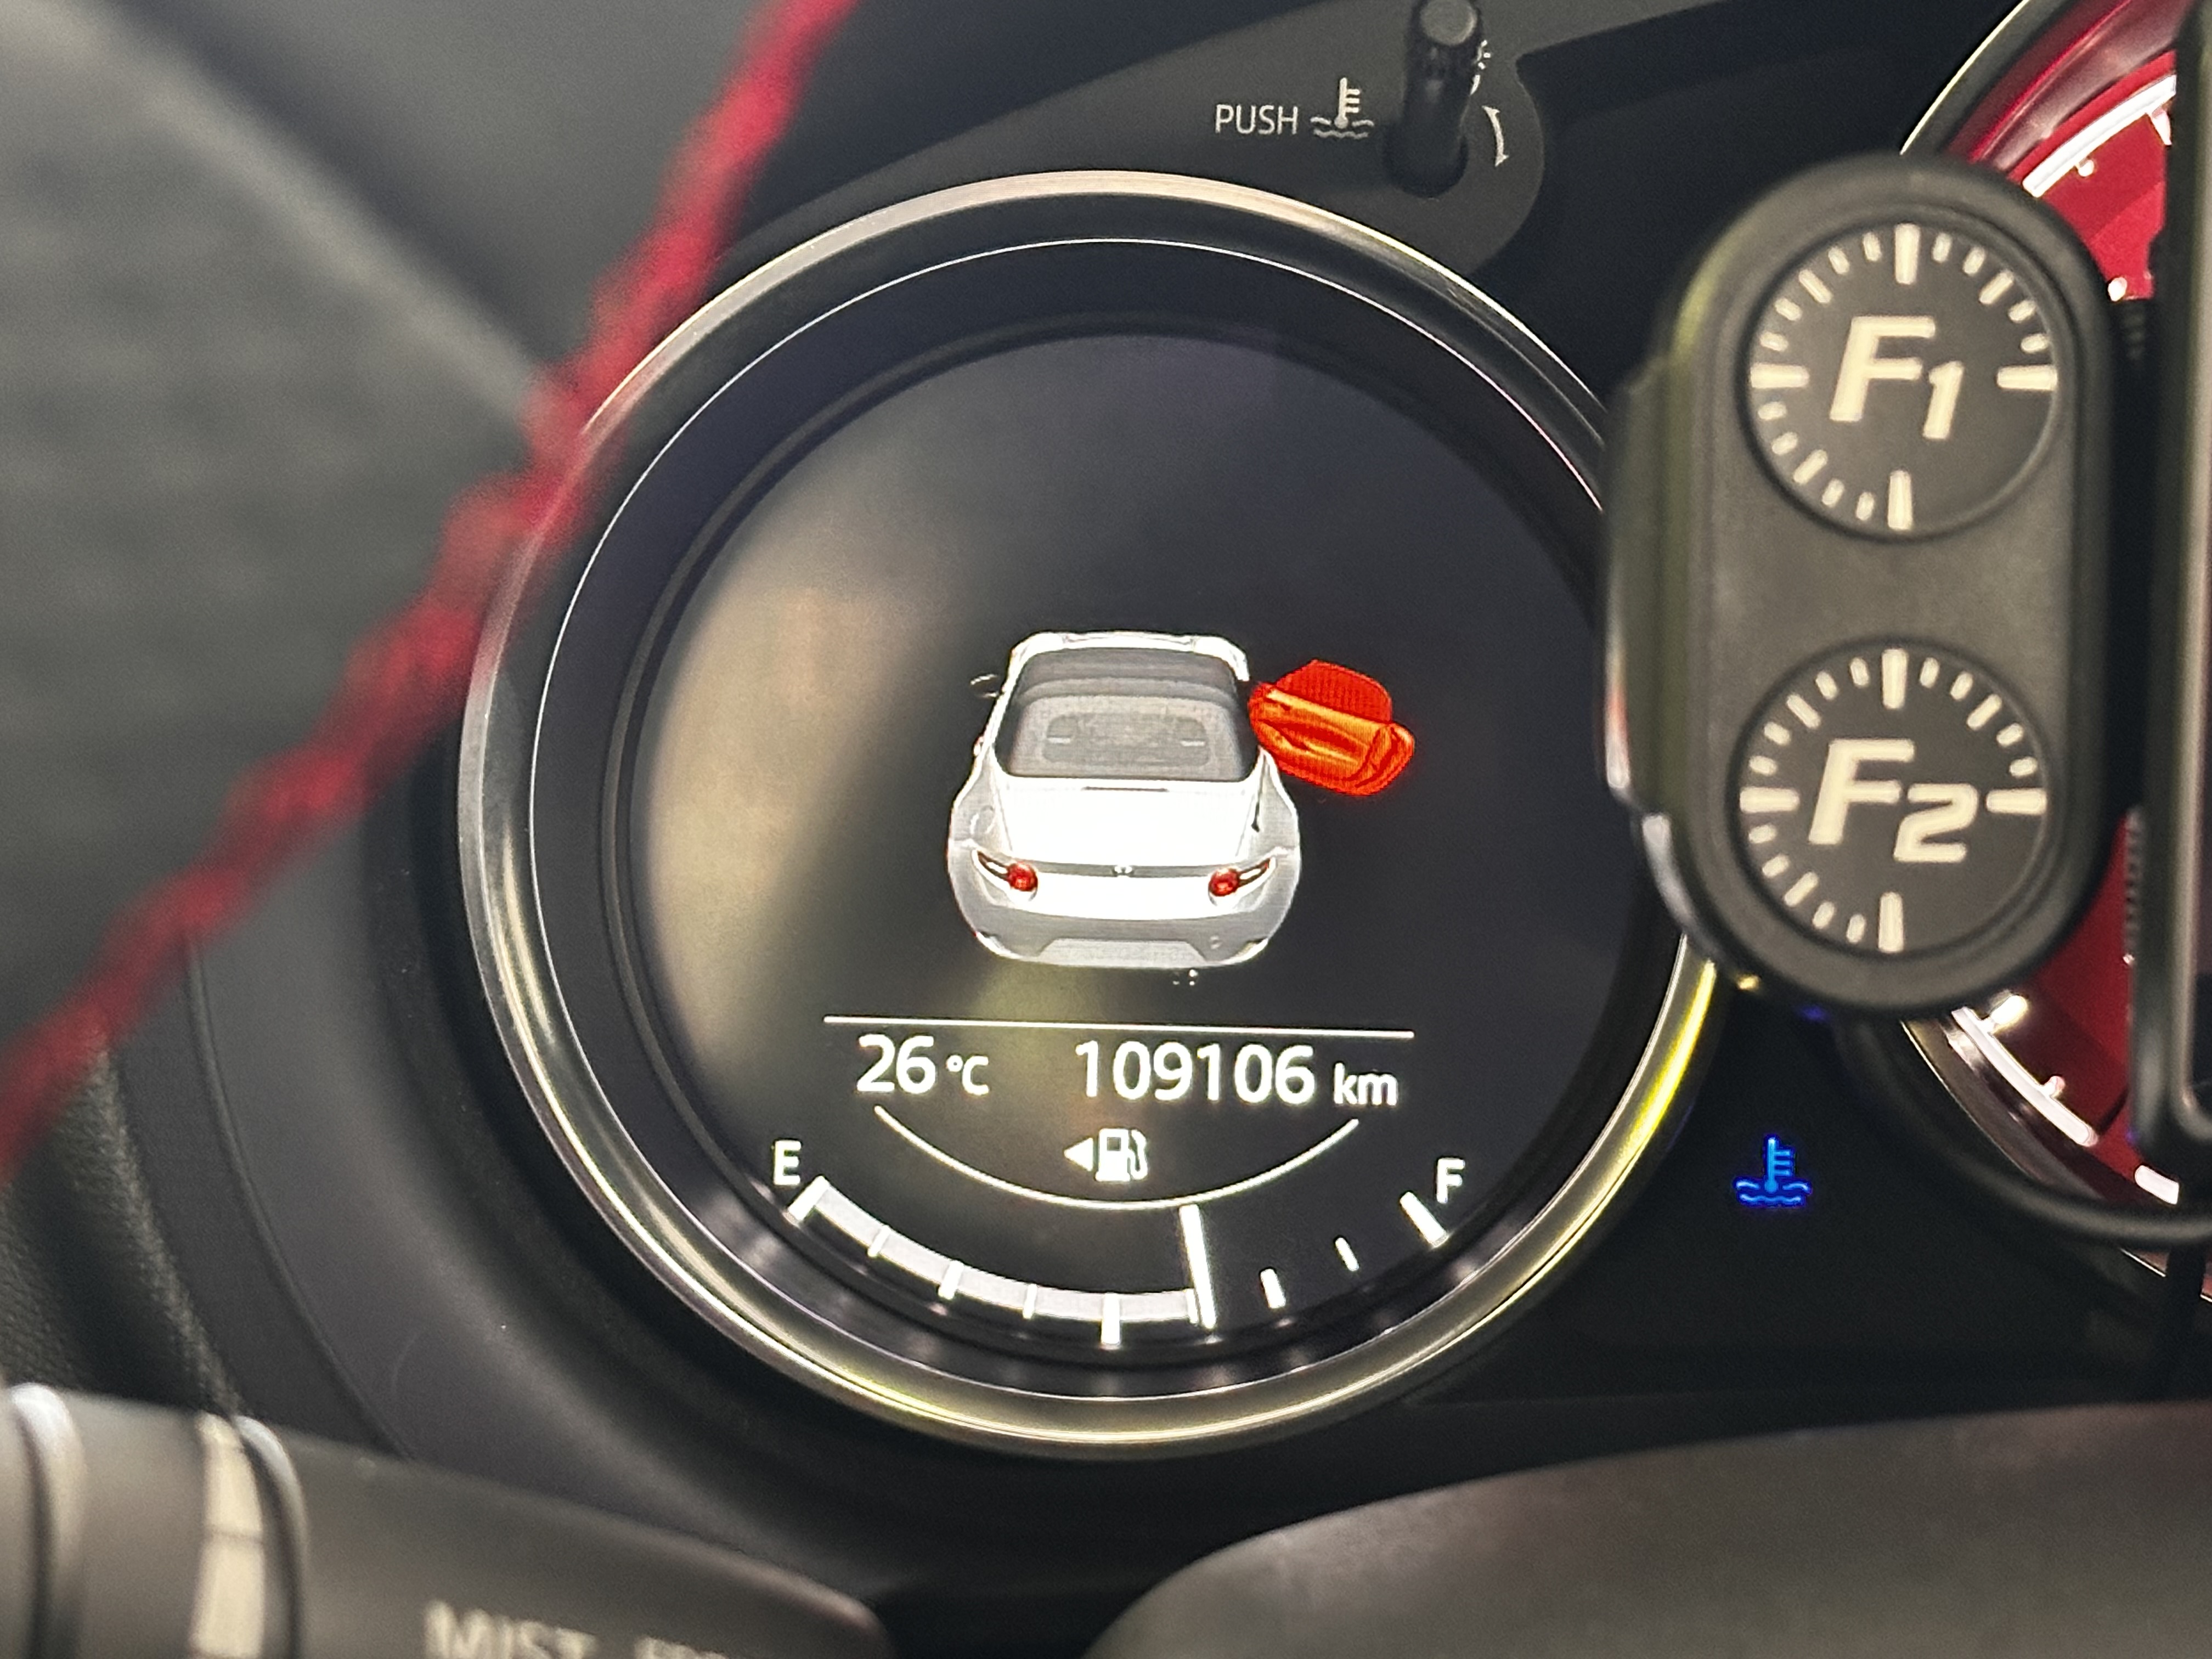
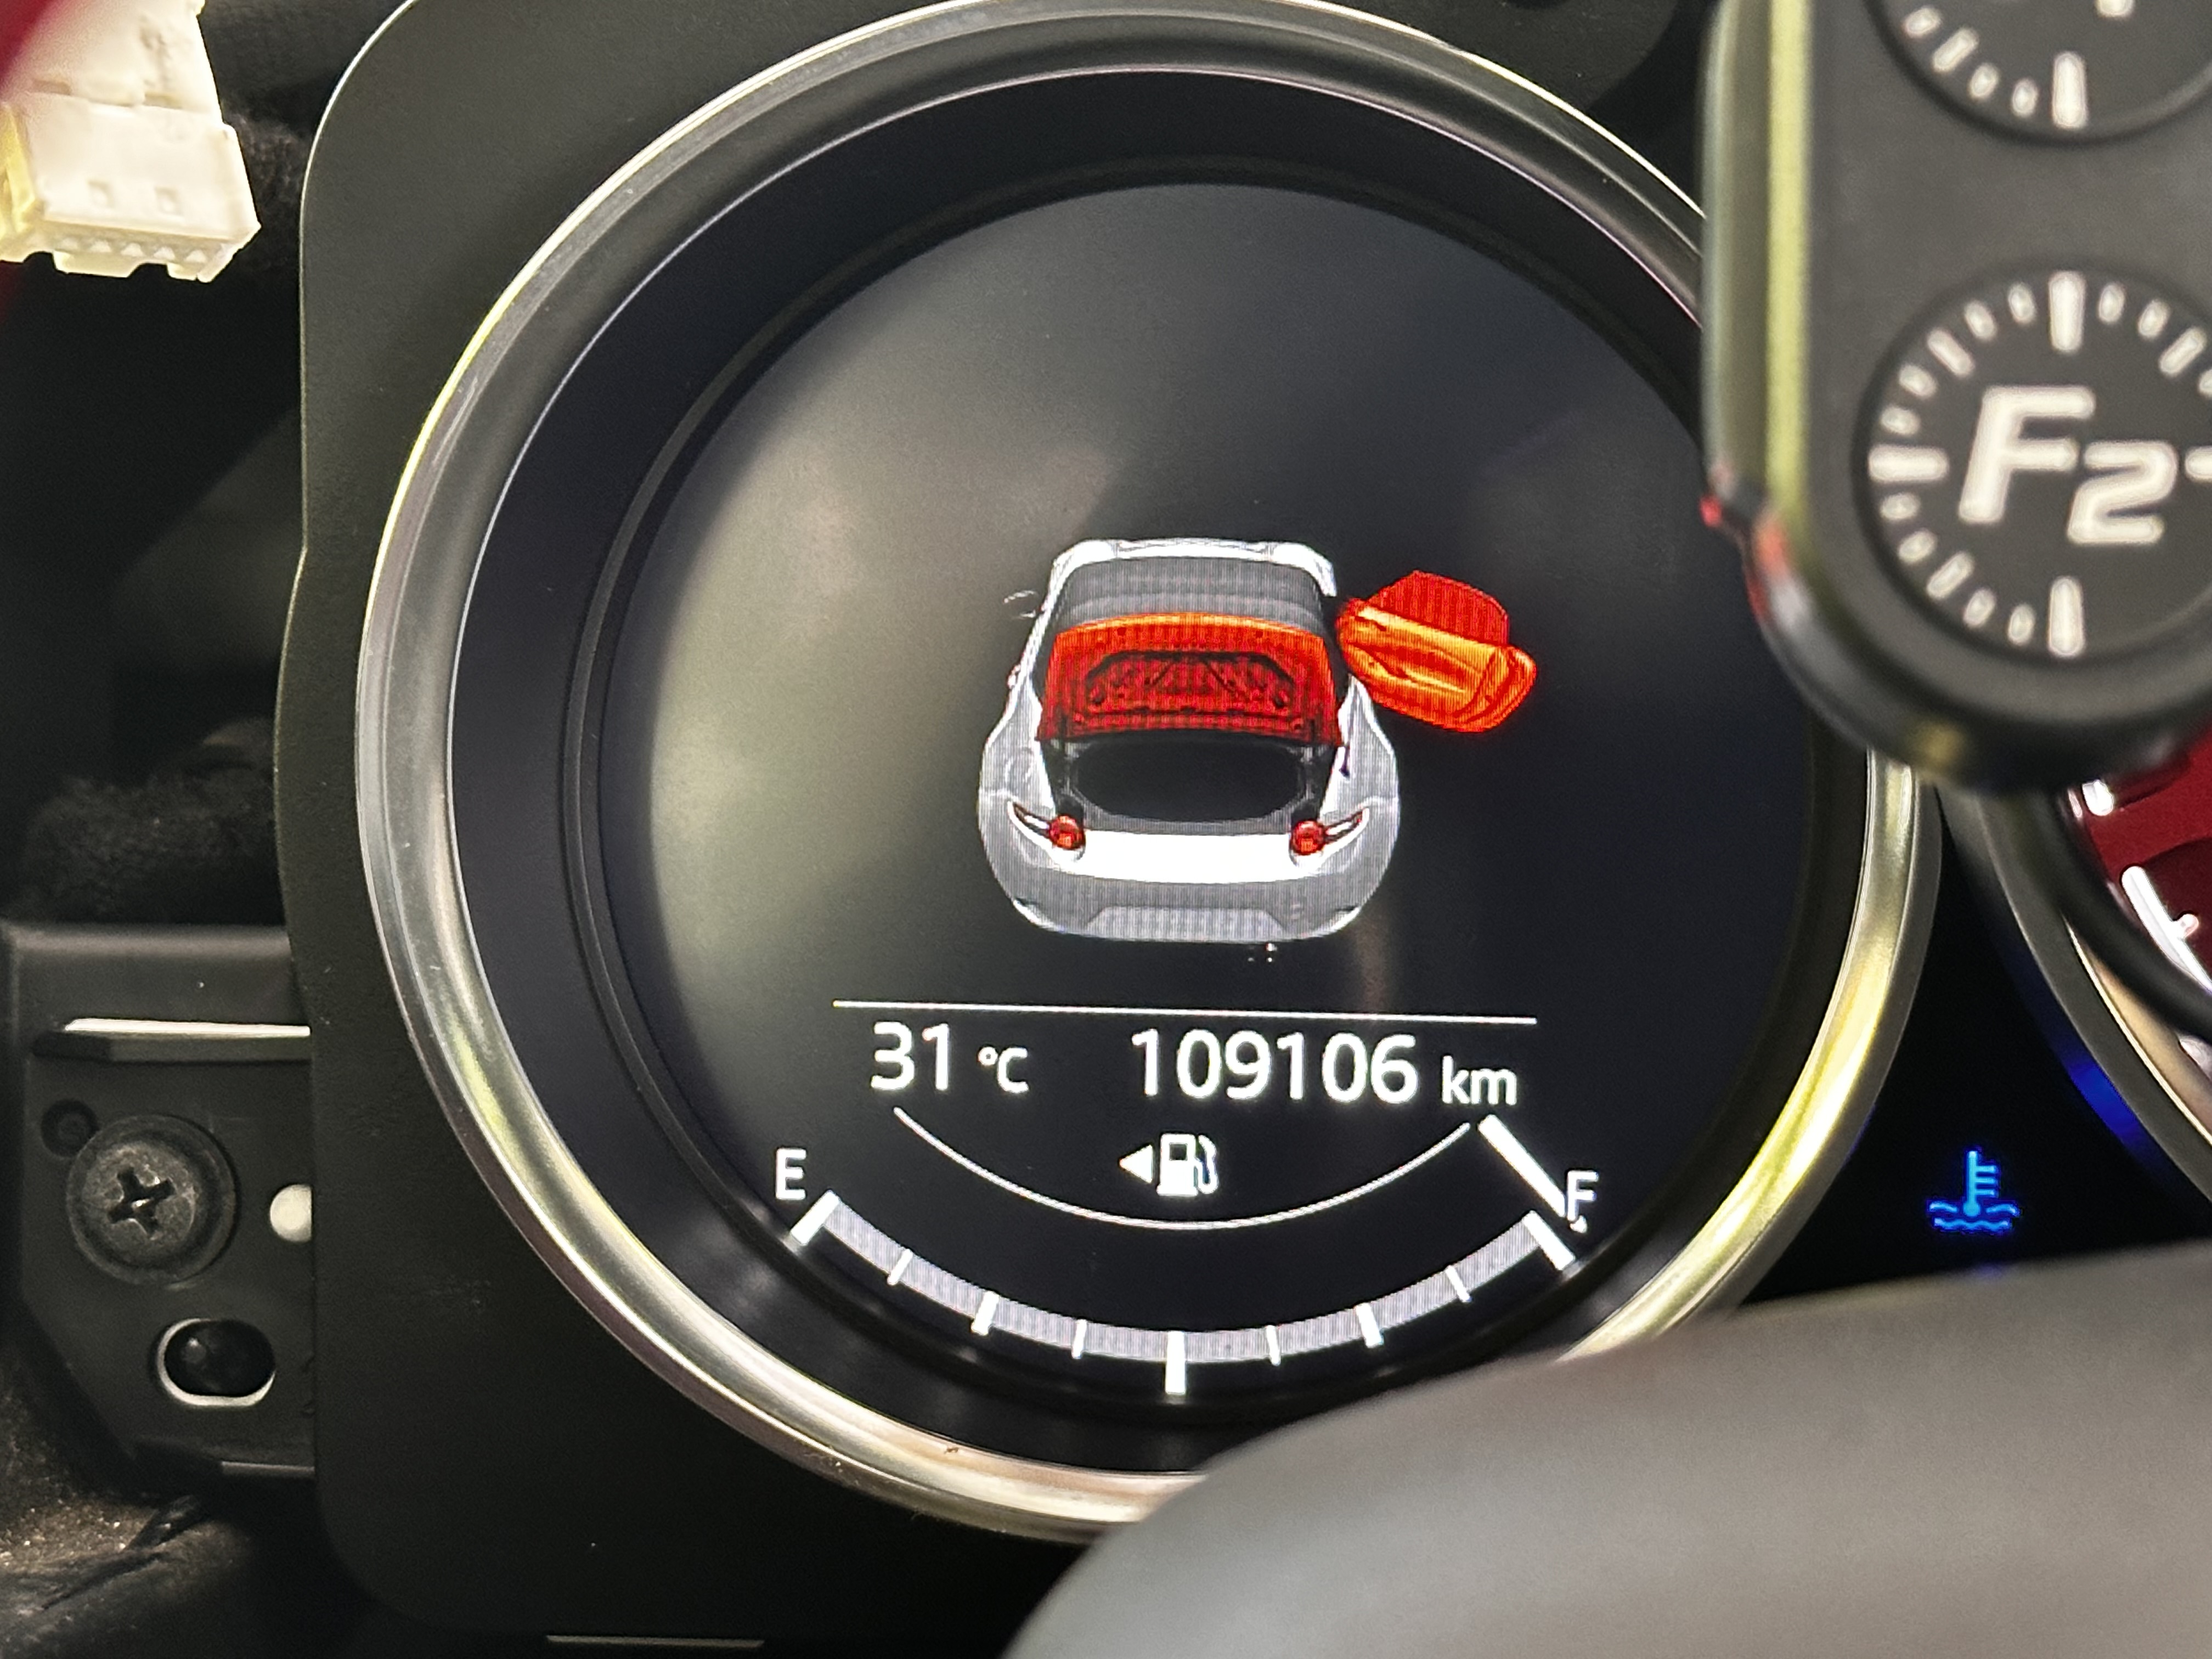
- Once the data is loaded, select WRITE ALL. Block 3 will fail but this is expected. After the rest of the blocks are written, clear any DTC's and cycle the ignition power. All errors should now be gone and your cluster should show the correct image for door open.

Odometer Adjustment
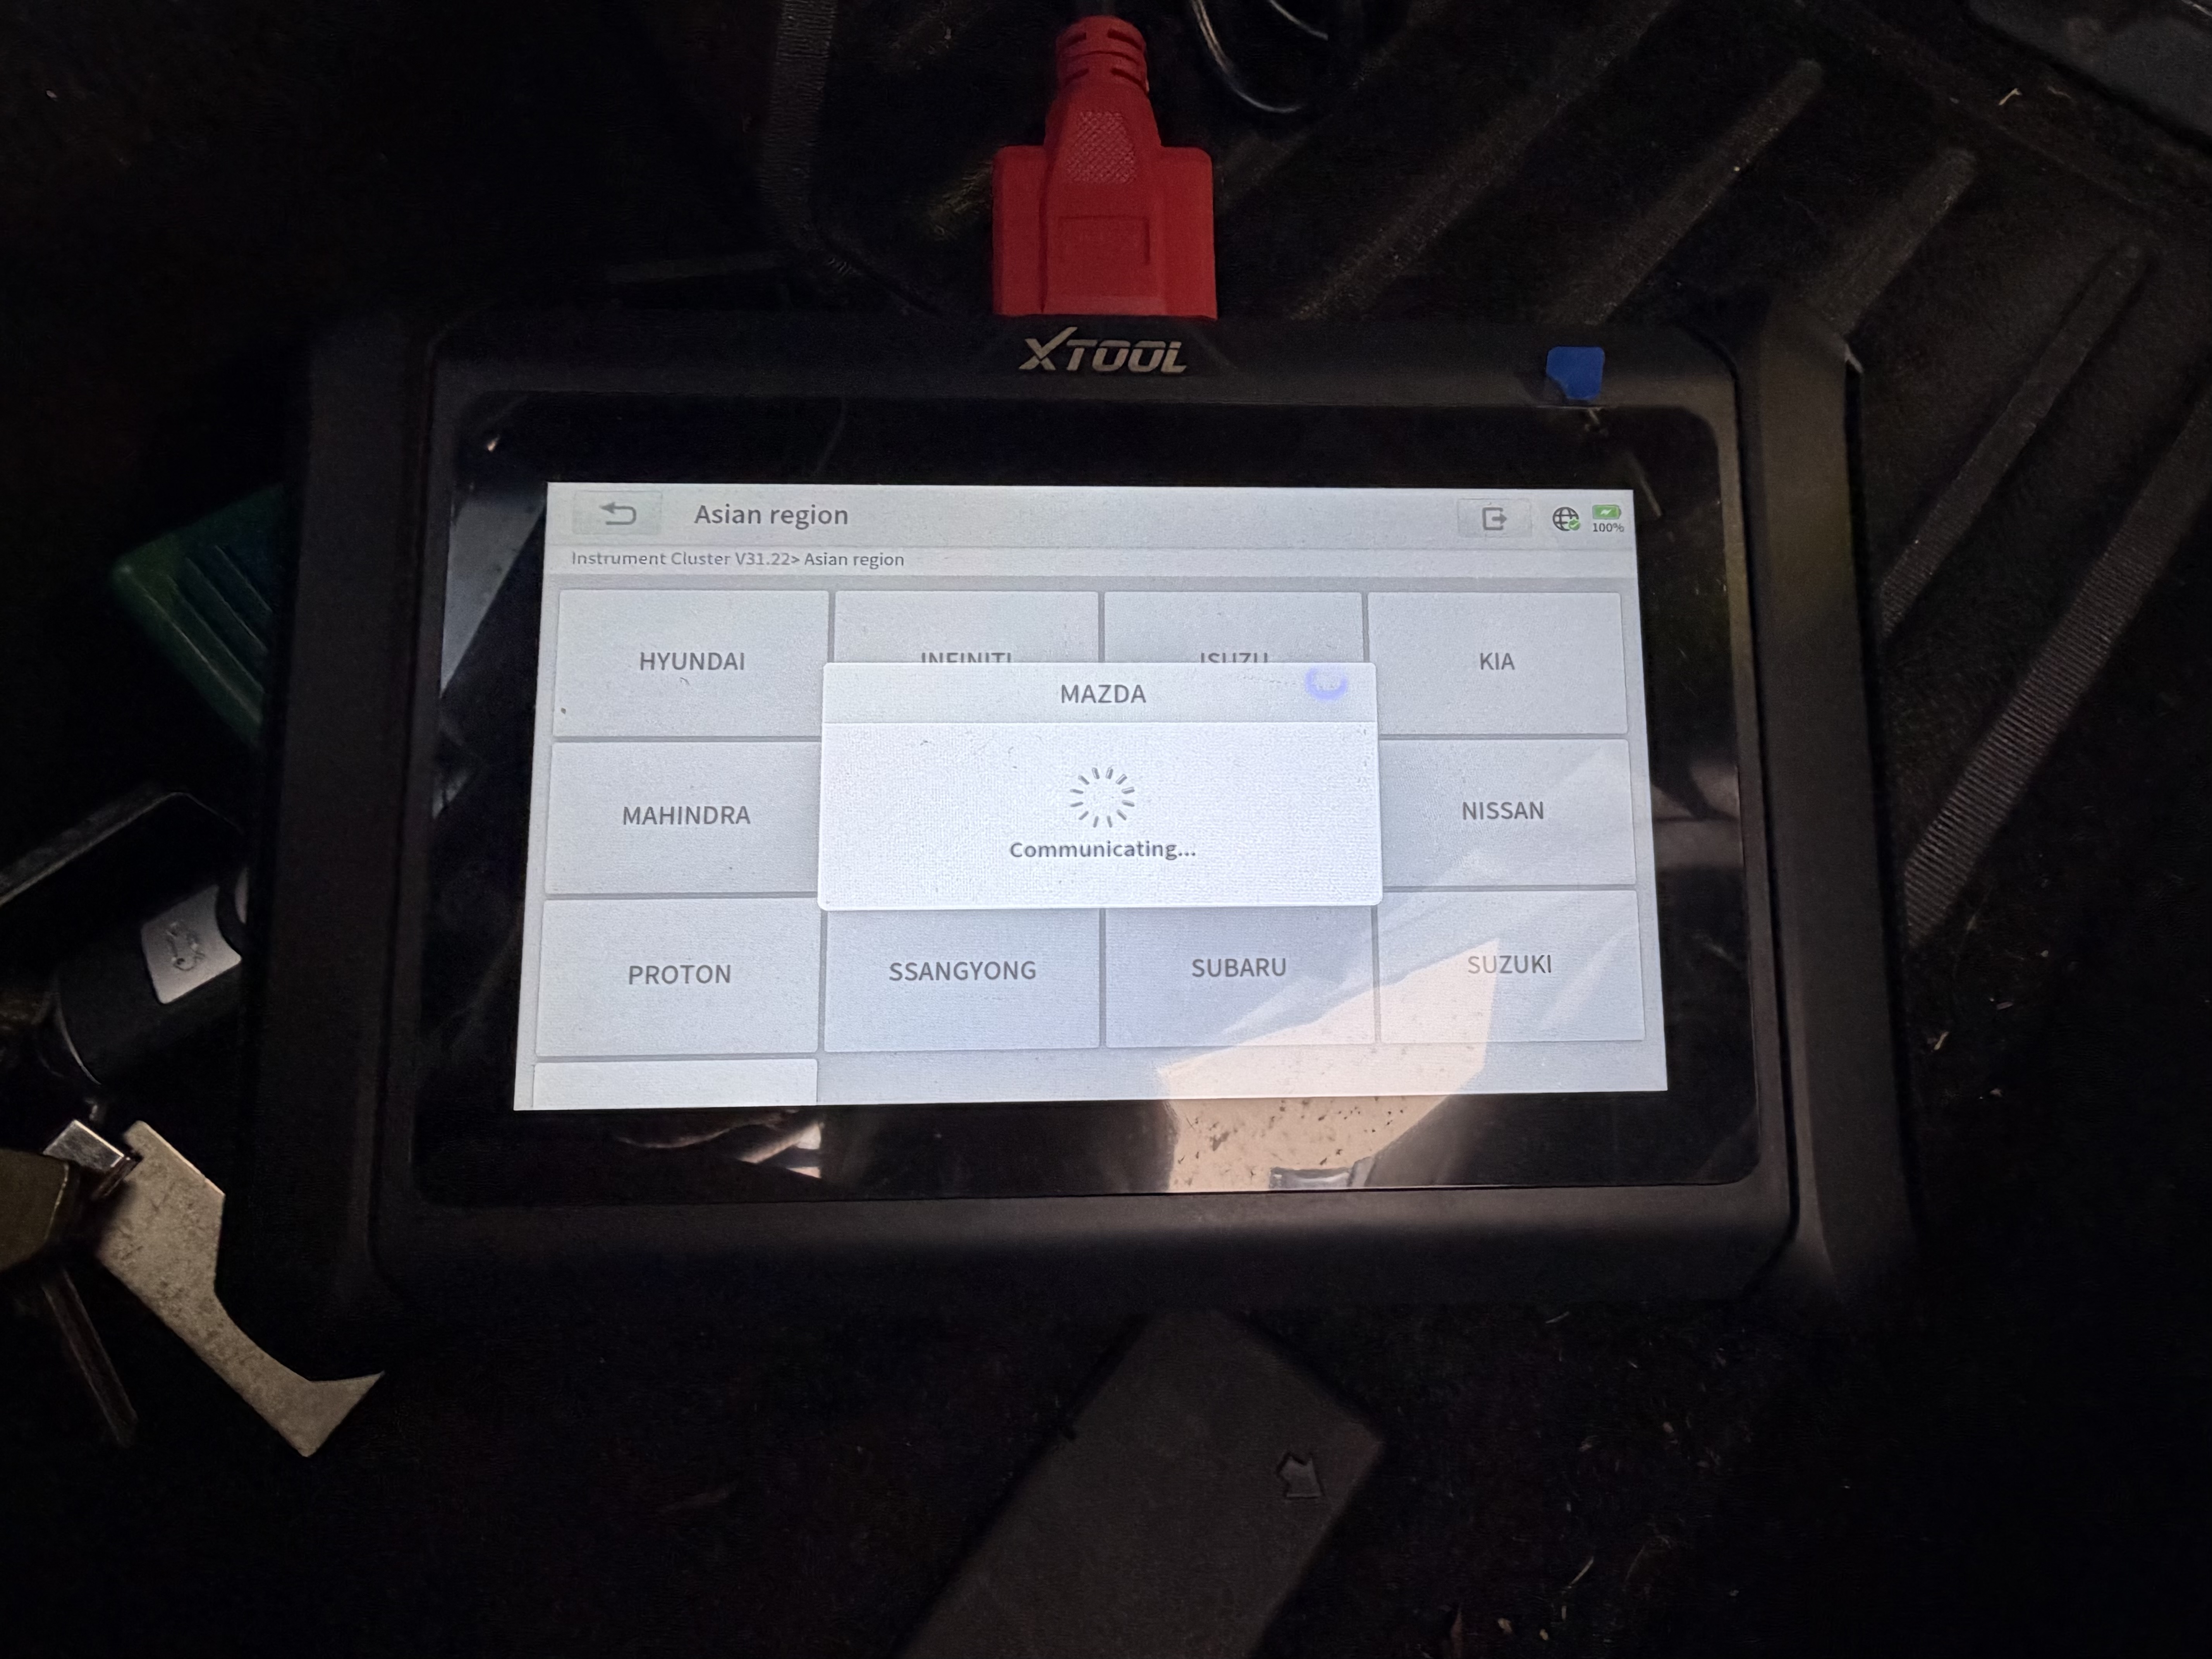
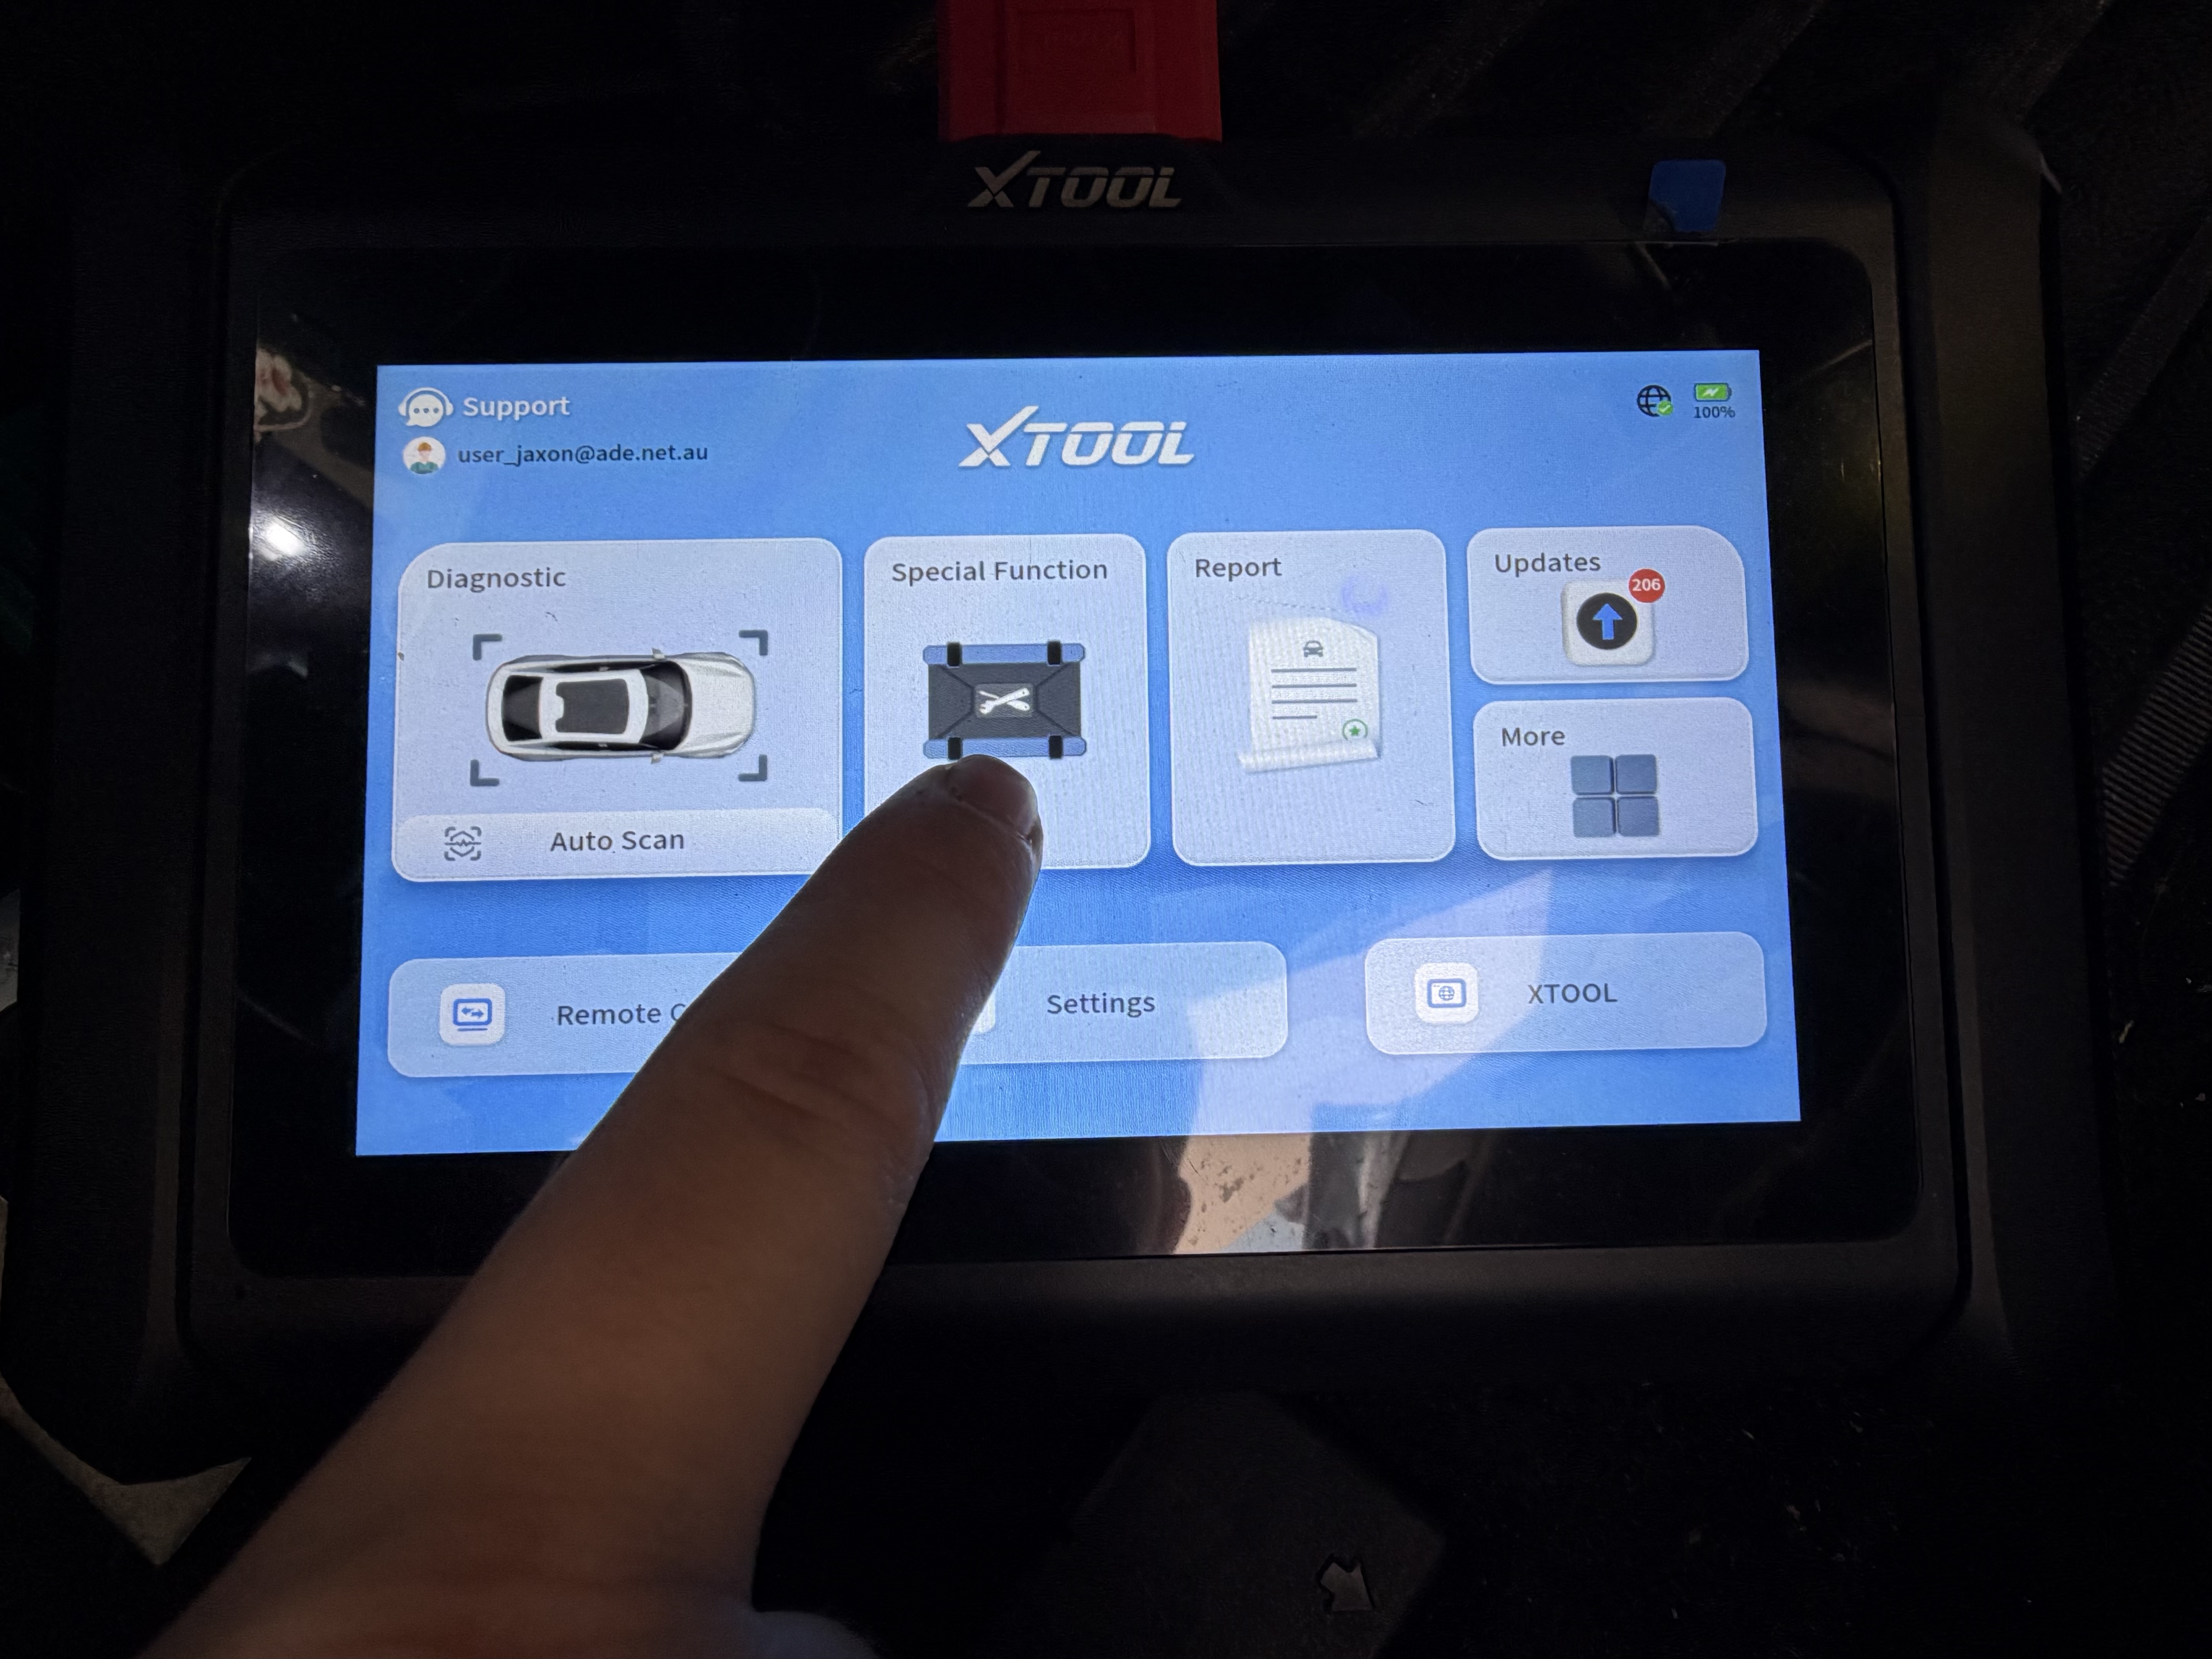
- Connect your XTool to the car and select the 'Special Functions' menu.
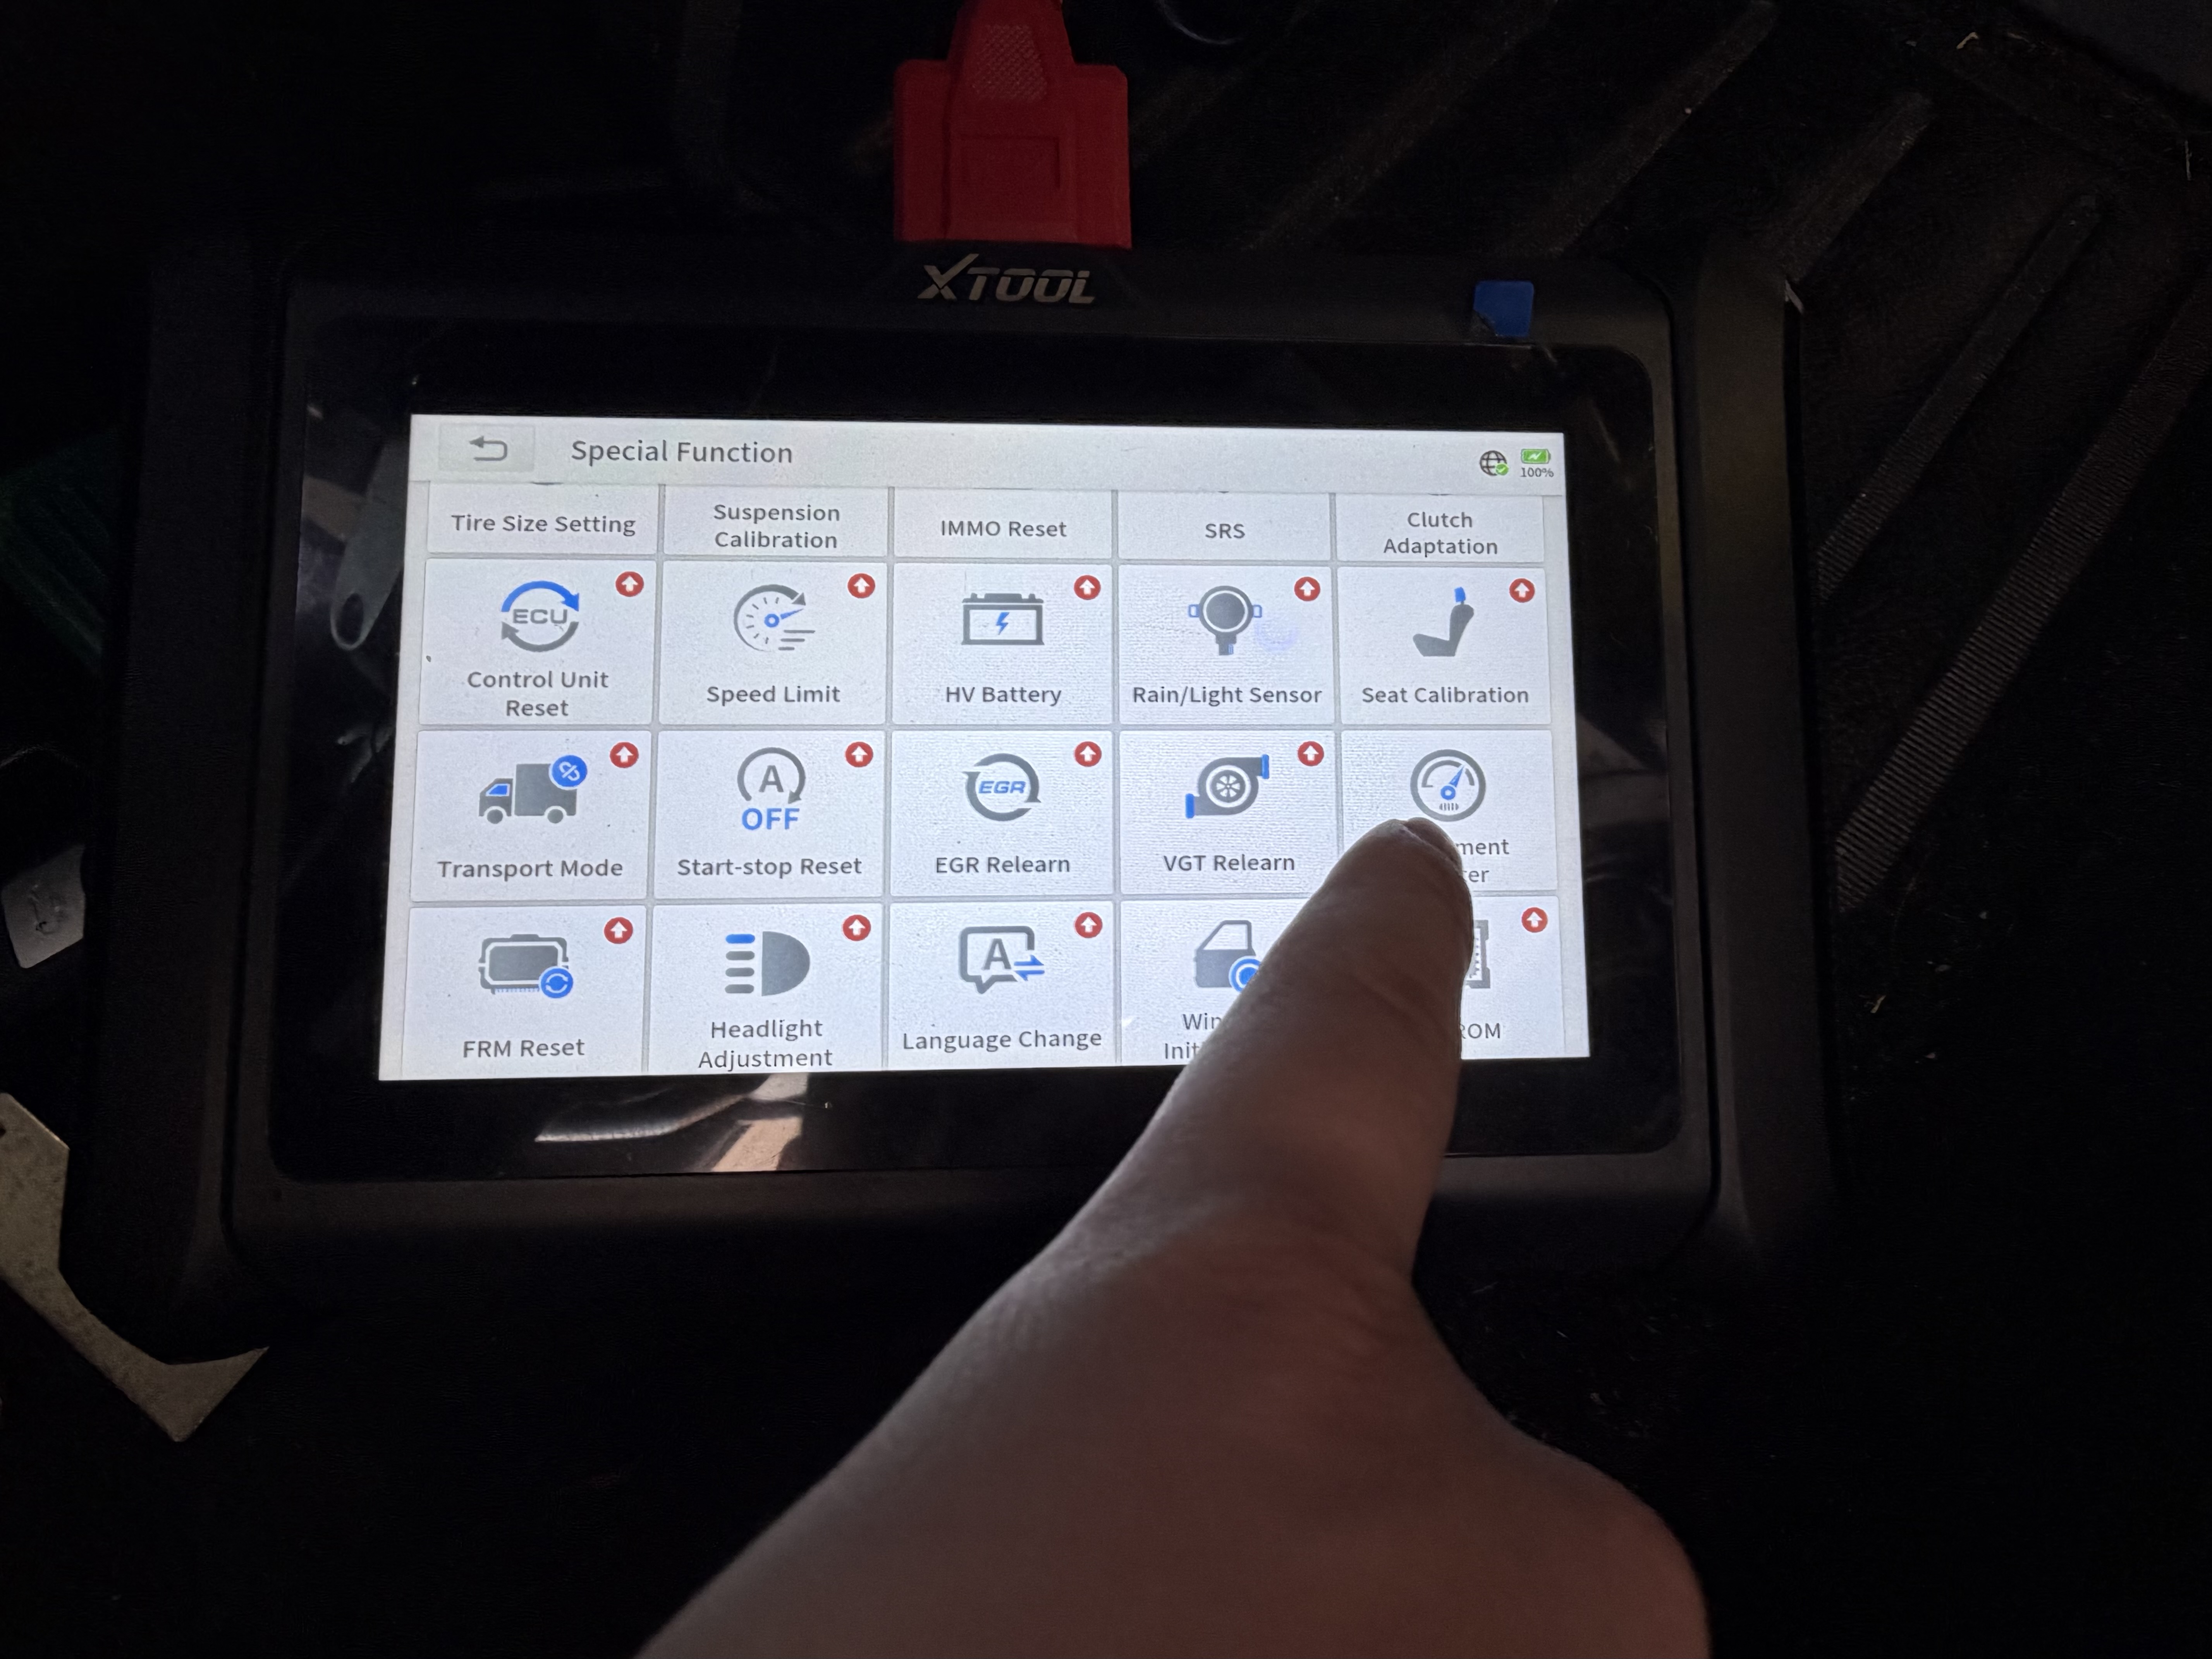
- Select 'Instrument Cluster'.
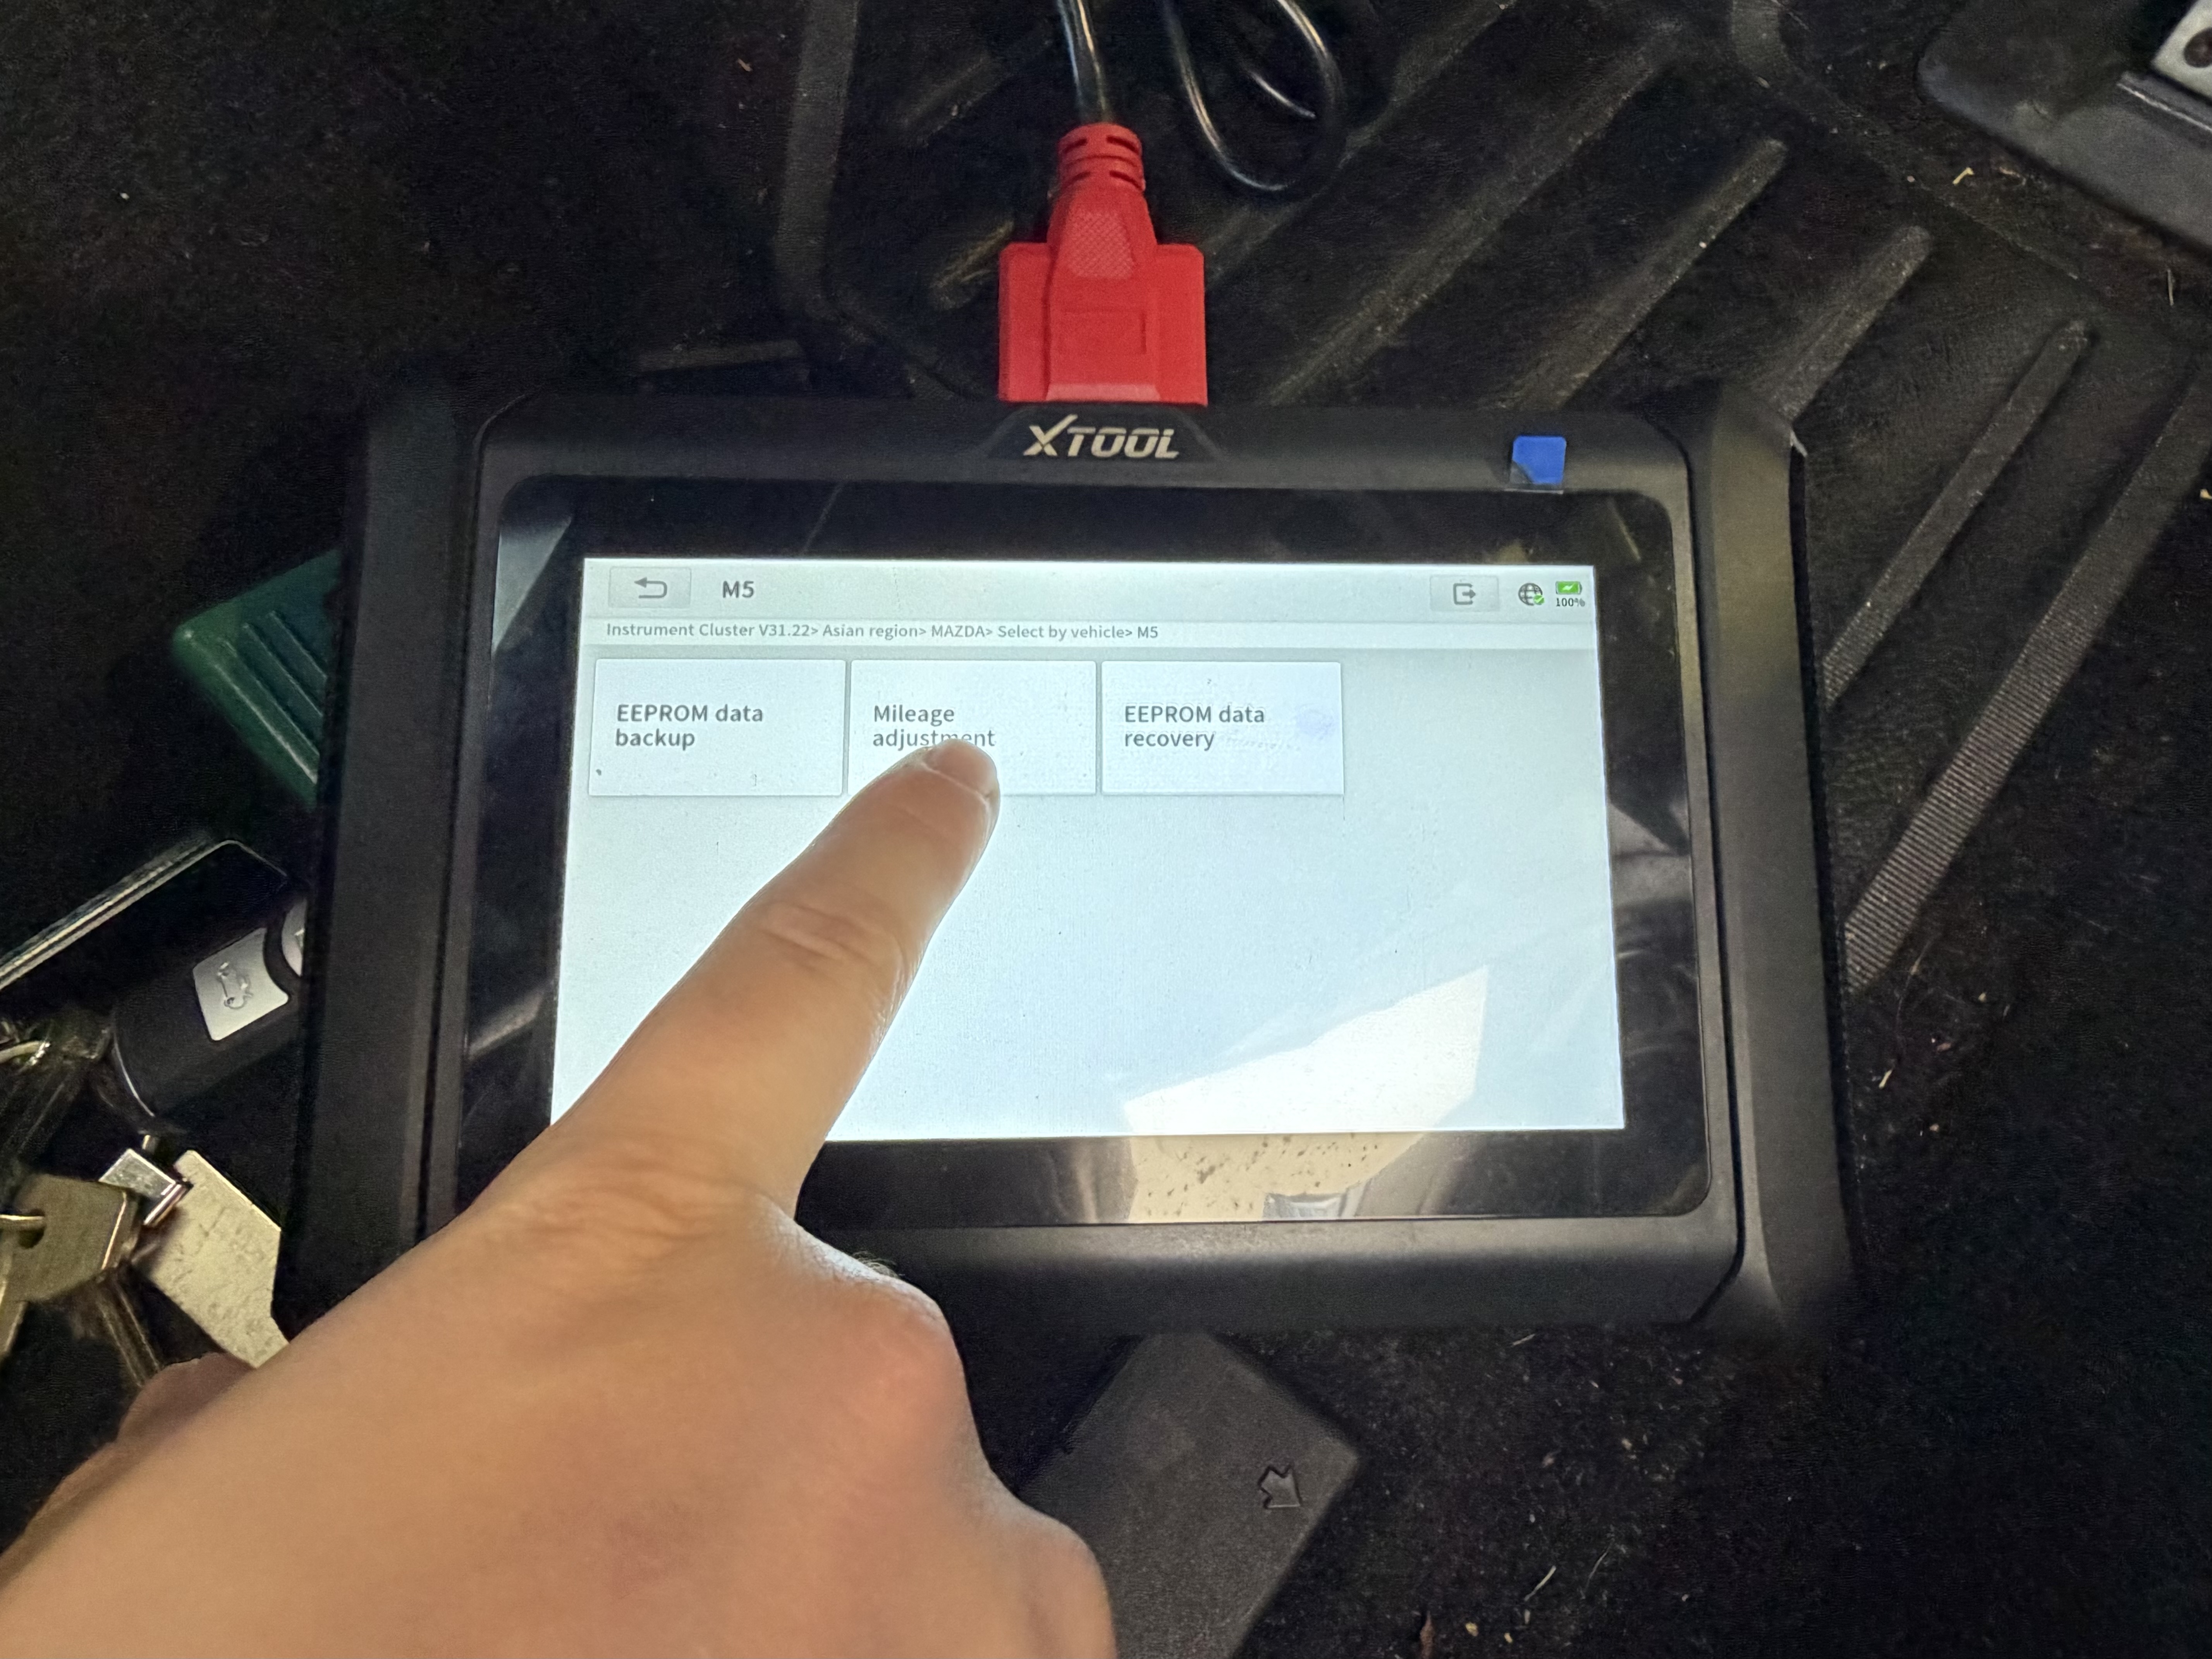
- Select your region.
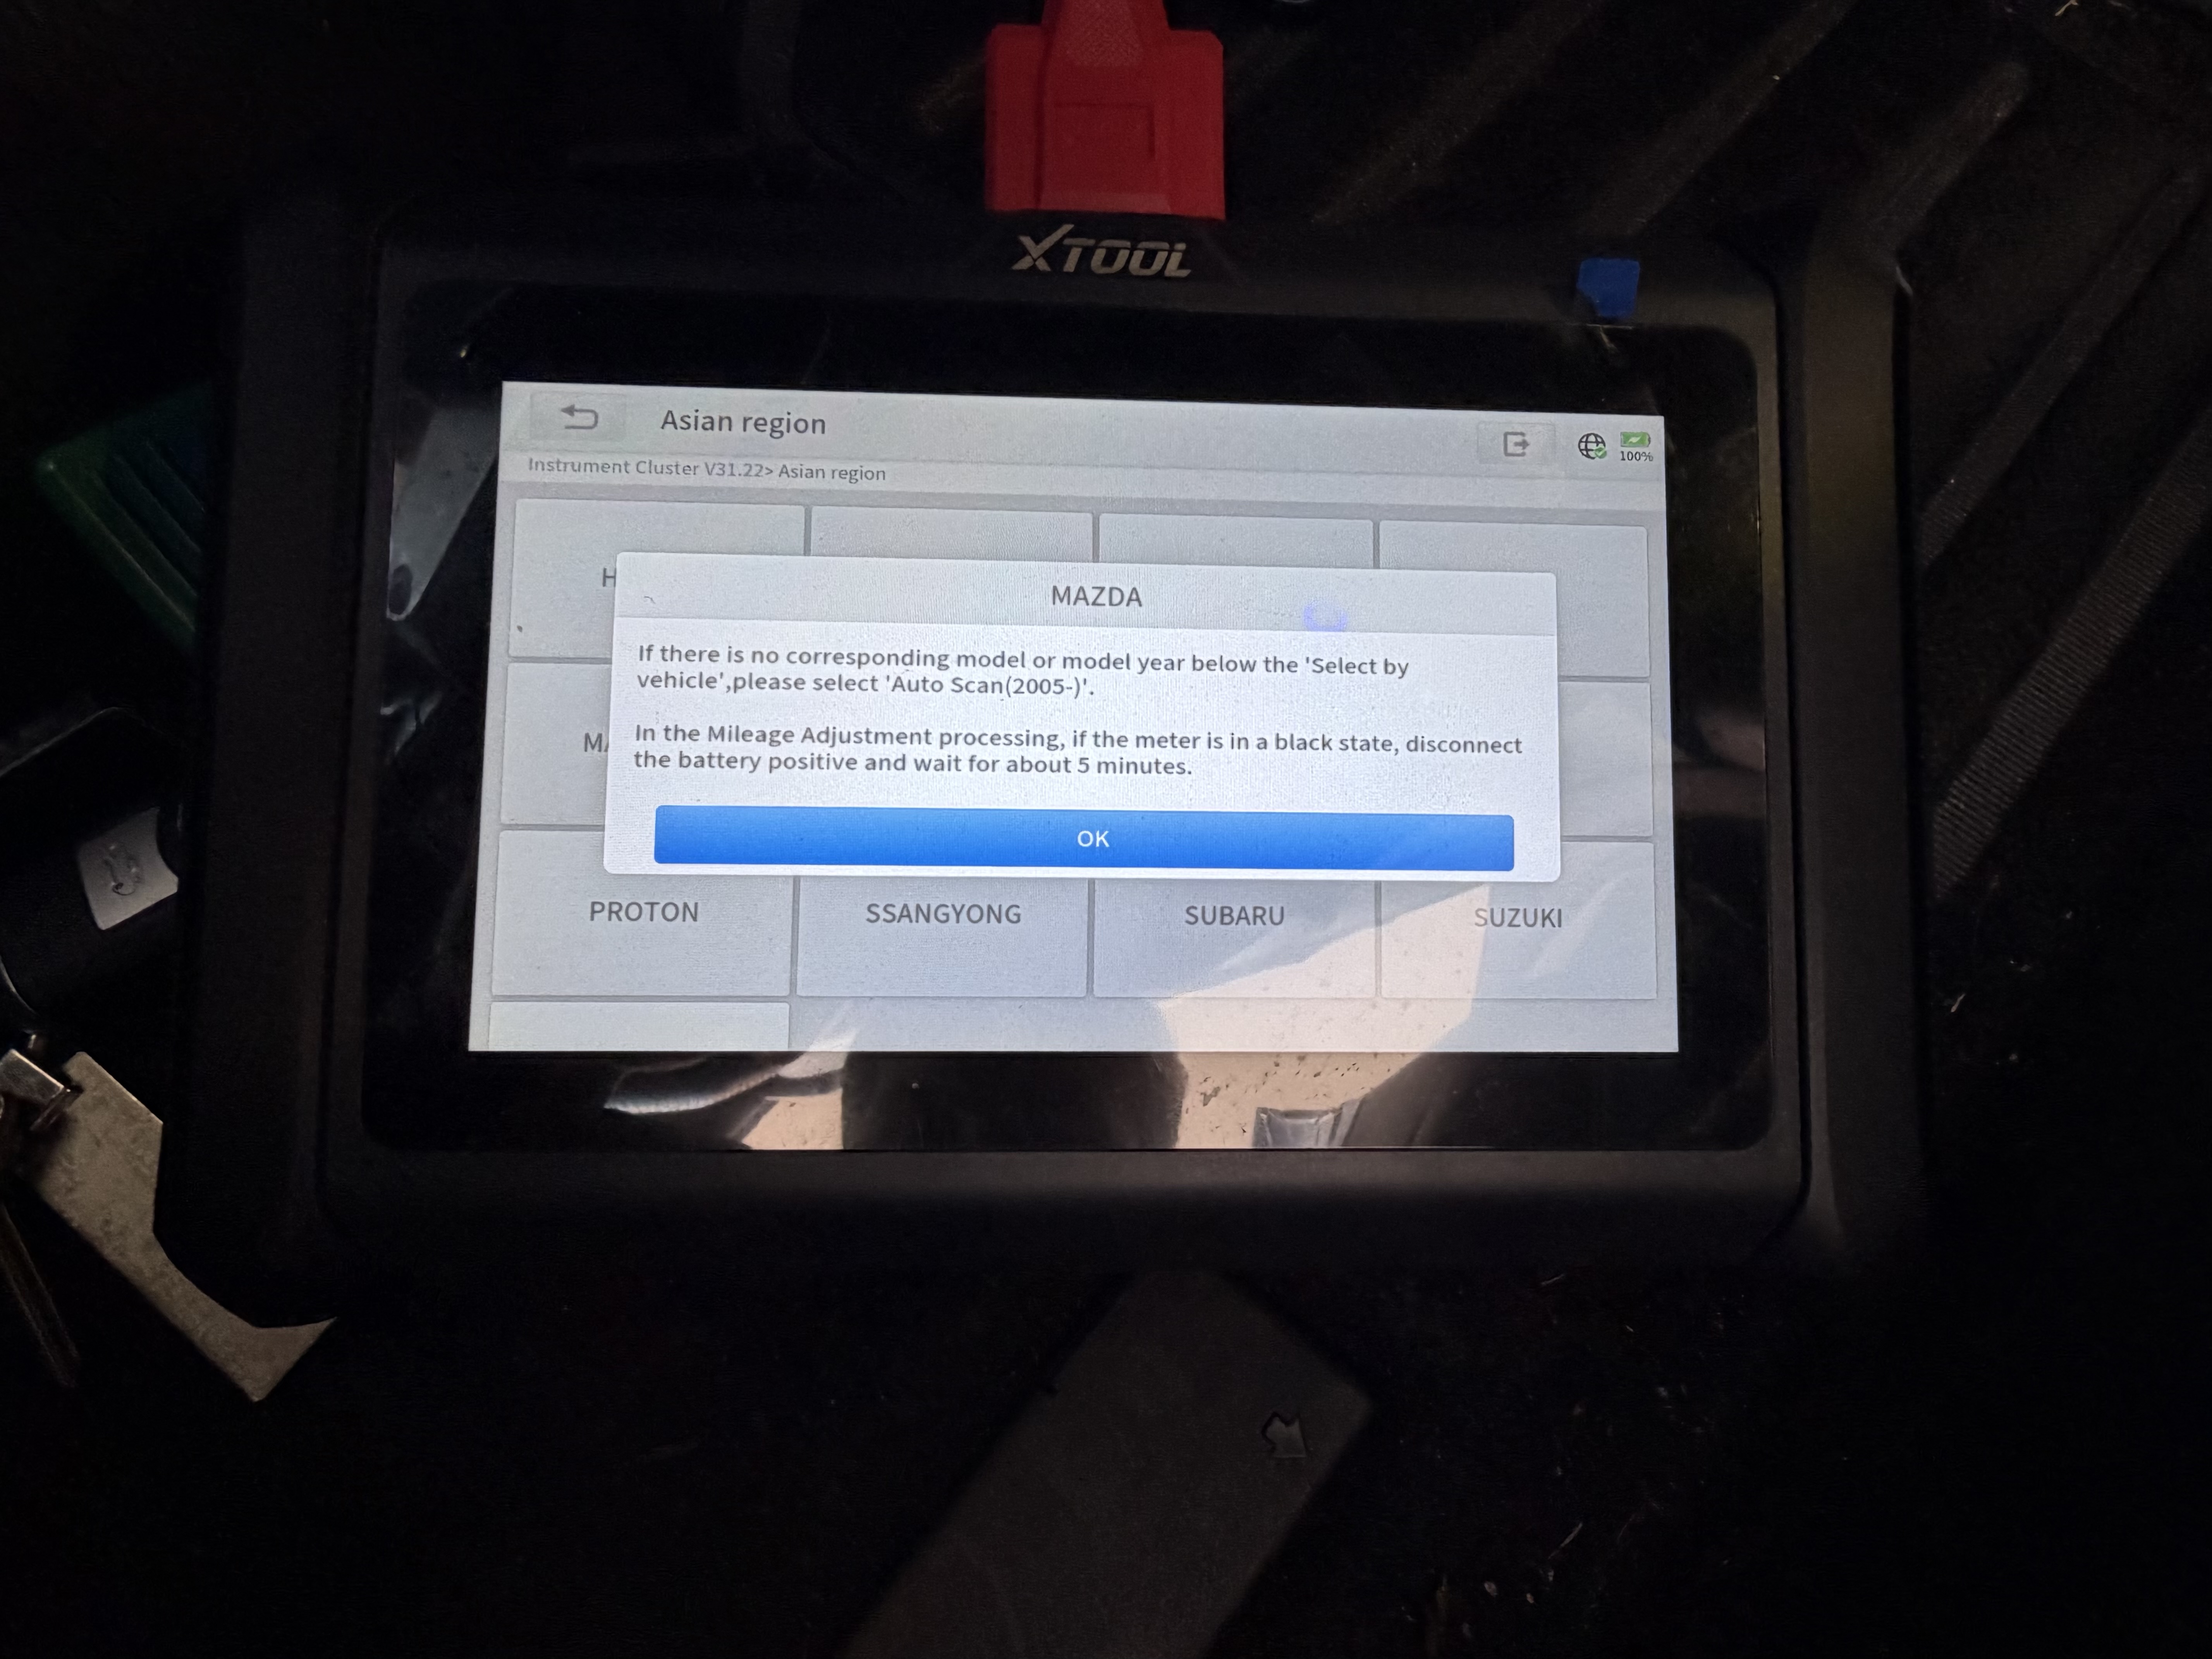
- Go through vehicle selection. I believe the auto scan always fails and must be done manually.
- Select 'Milage Adjustment'.
- Select 'Modify Milage' in kilometers or miles depending on region. Then follow the on screen prompts to complete.


Gallery